View of the first pylon’s external facade from the temple of Ramesses III.
Entrance to the Mortuary Temple of Ramesses III at Medinet Habu. The gateway has the architectural features of a migdol, a Syrian fortress. 19th century photograph.
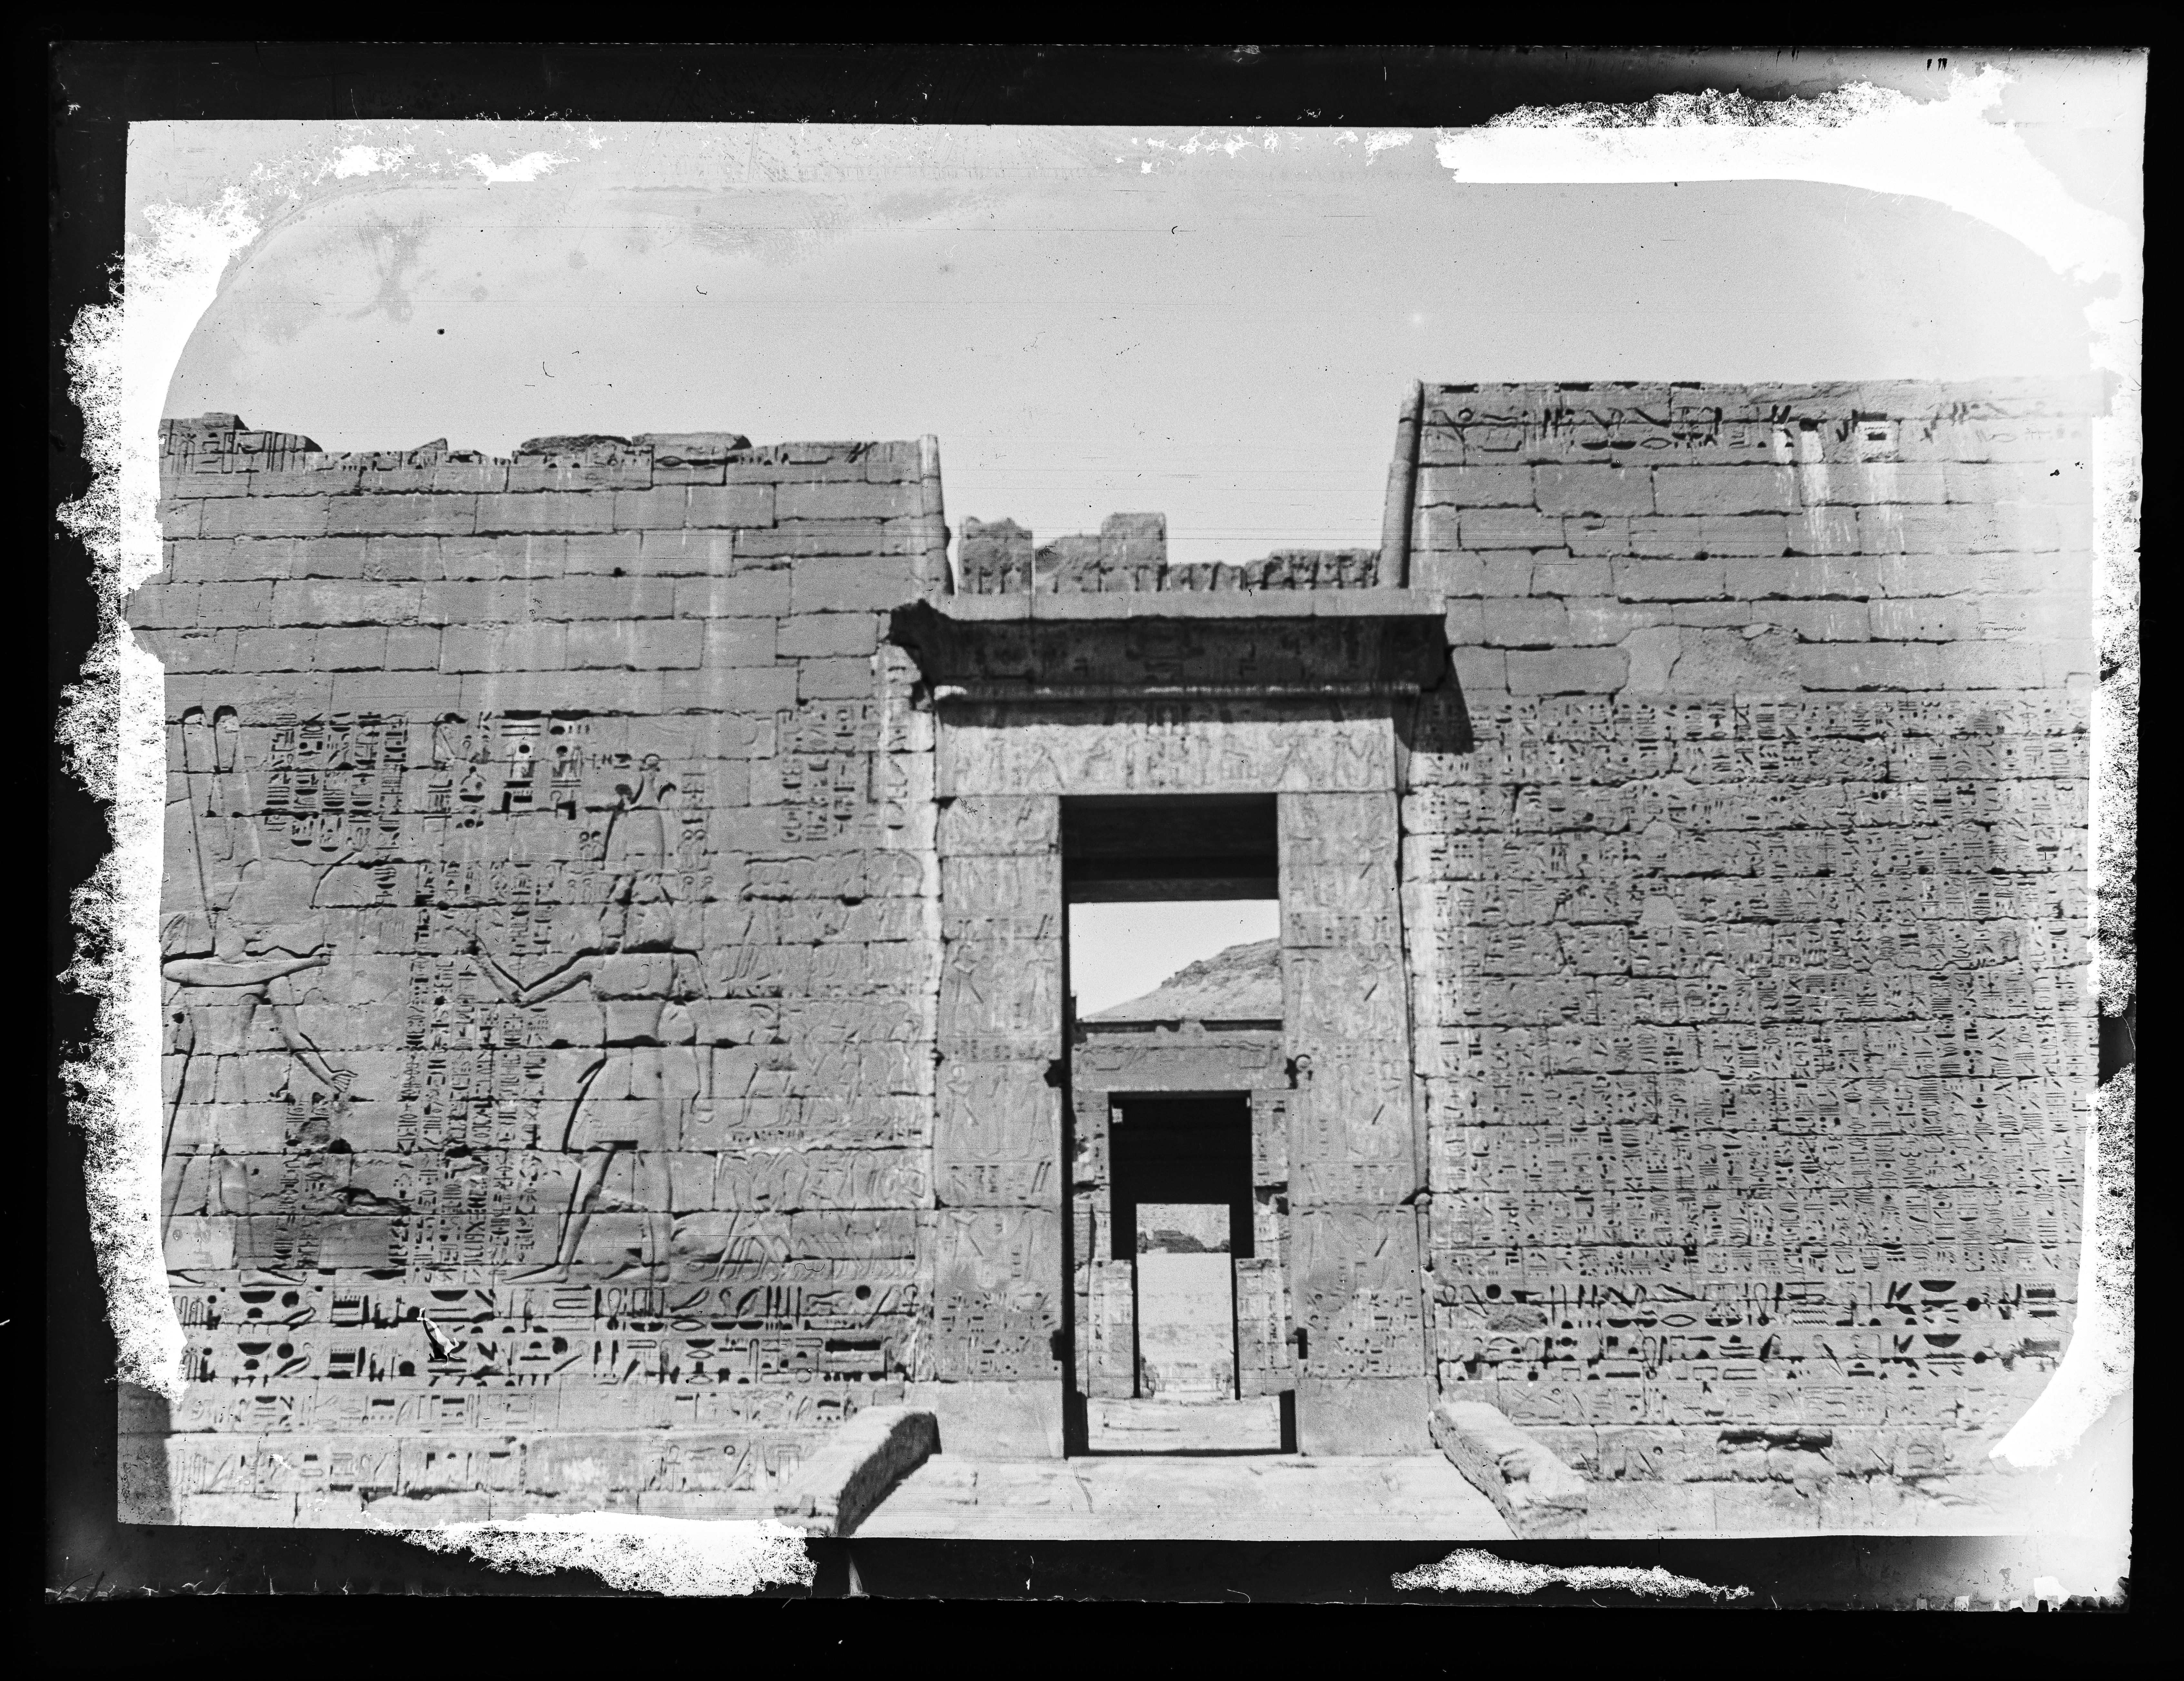
Entrance to the Temple of Ramesses III at Medinet Habu. From the opening, the second pylon and the innermost rooms can be viewed.
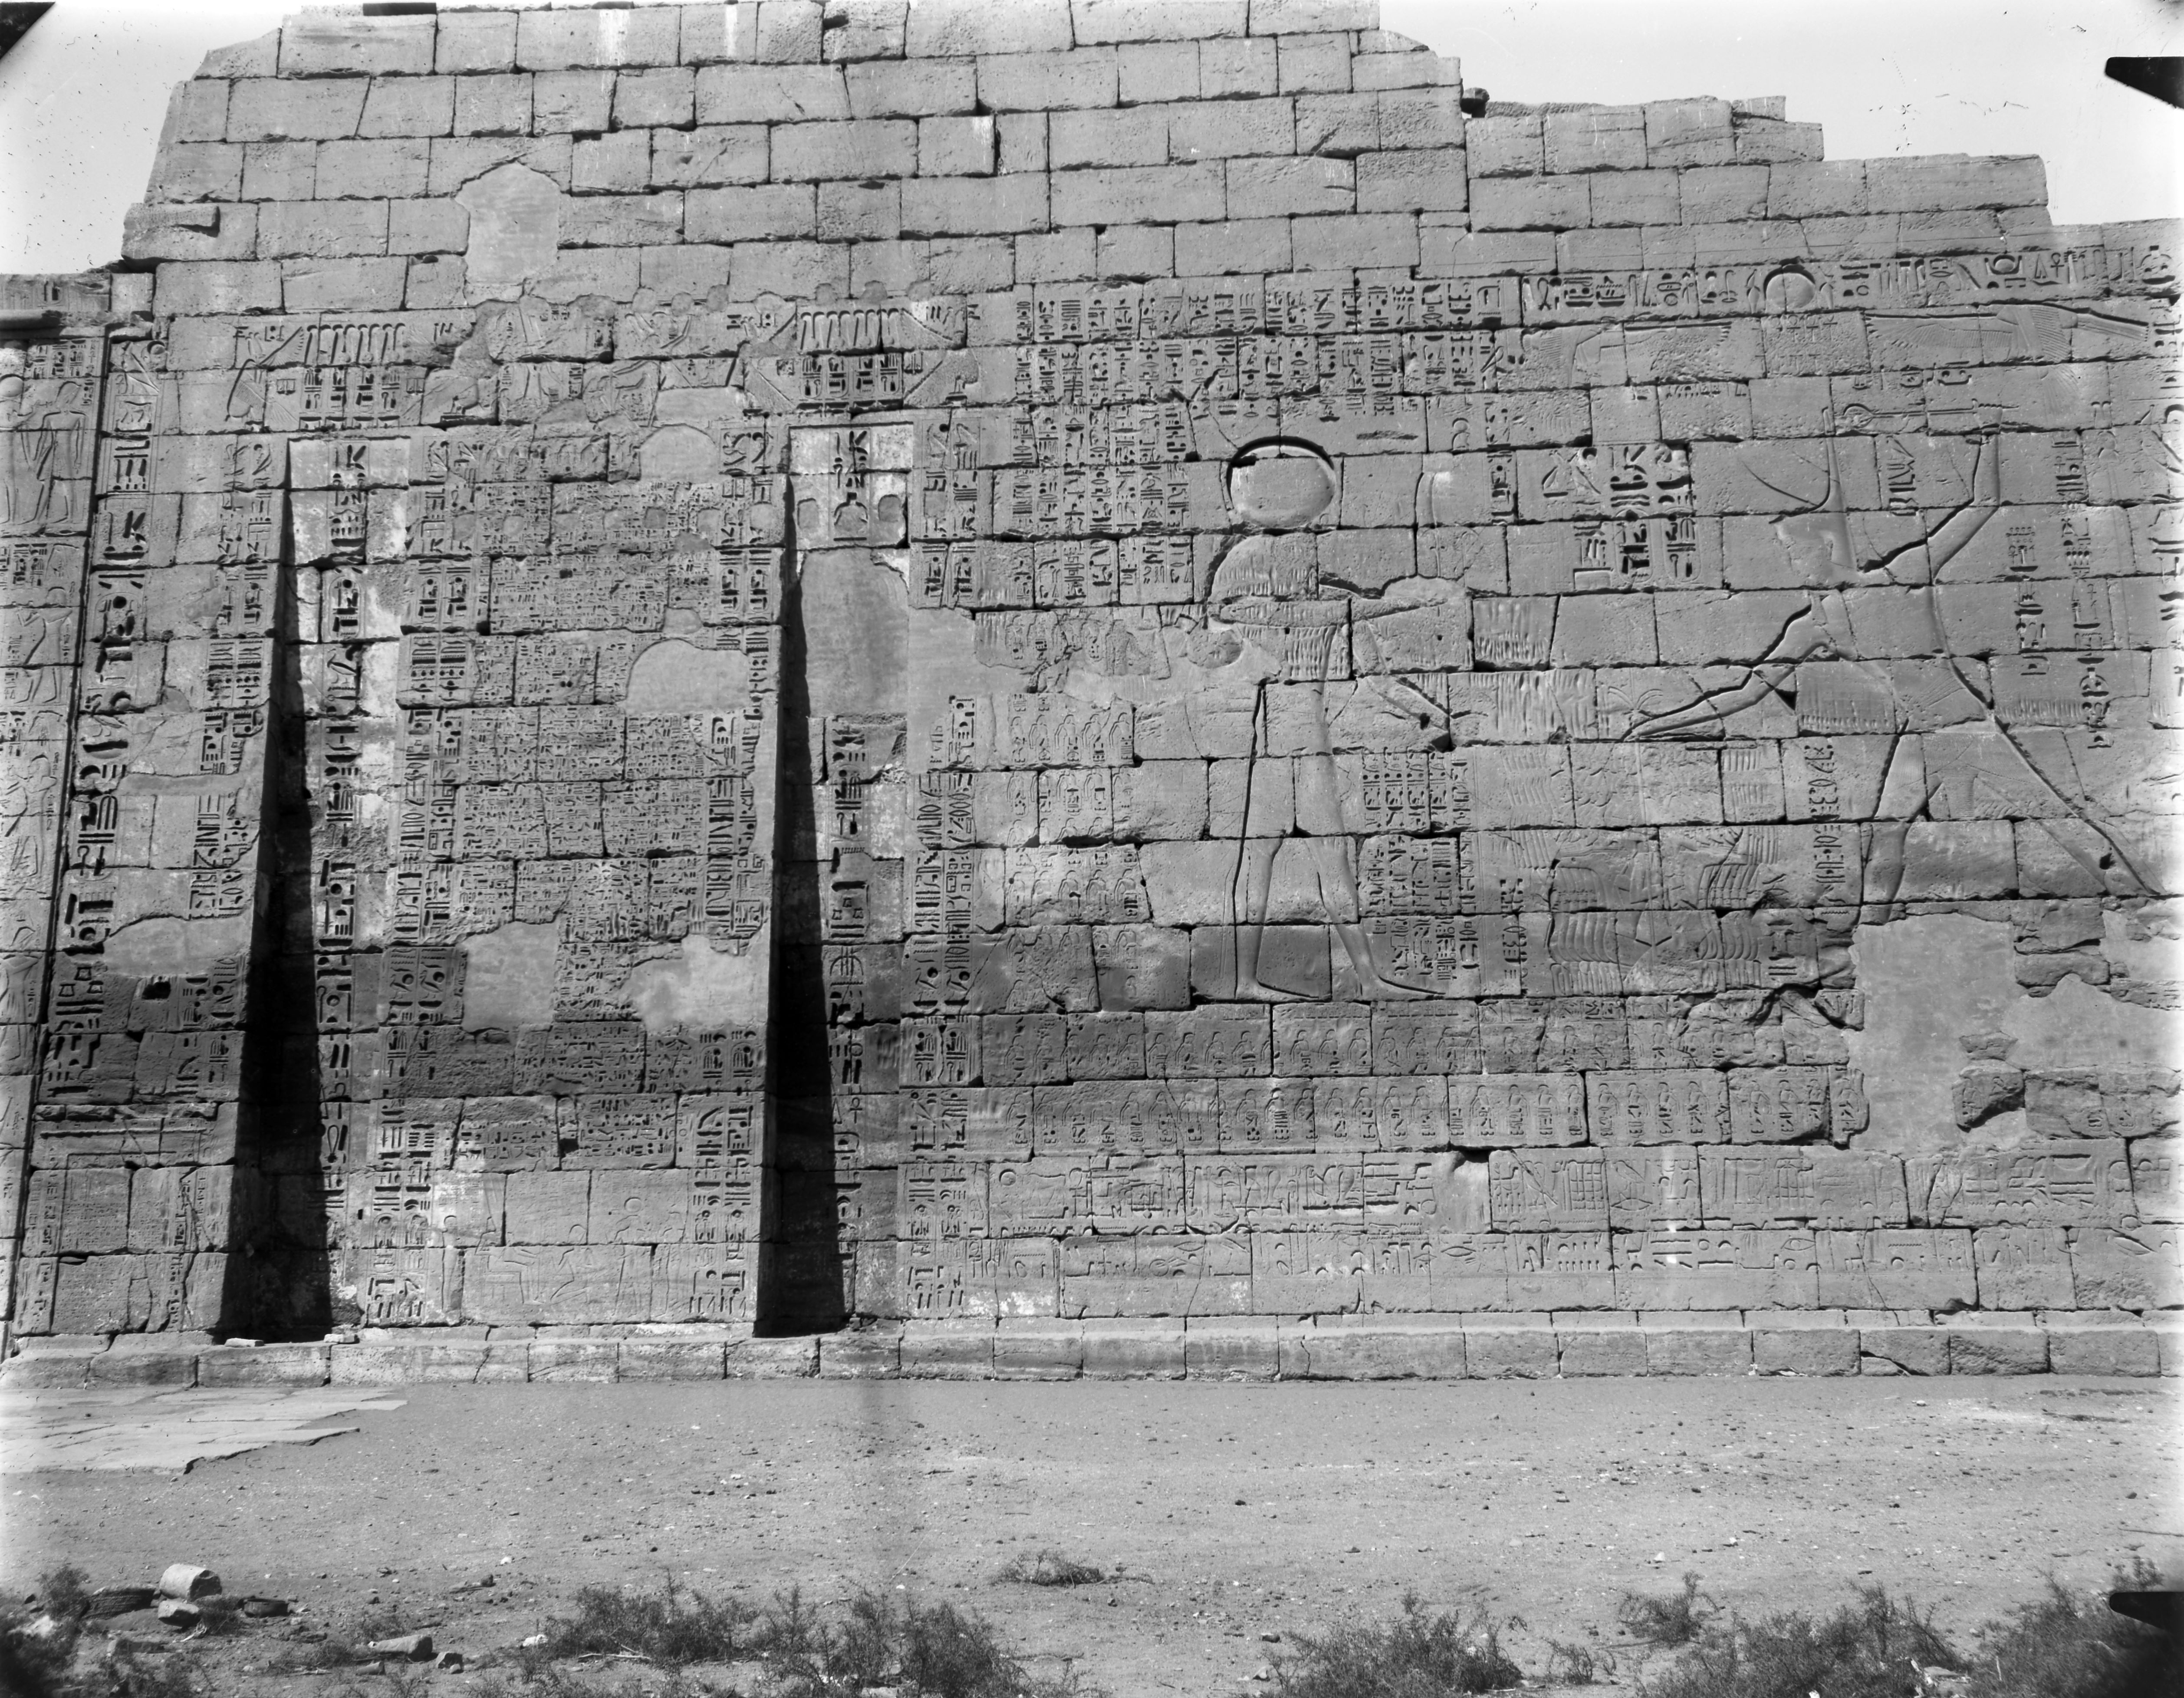
North facade of the second pylon from the Temple of Ramesses III, at Medinet Habu.
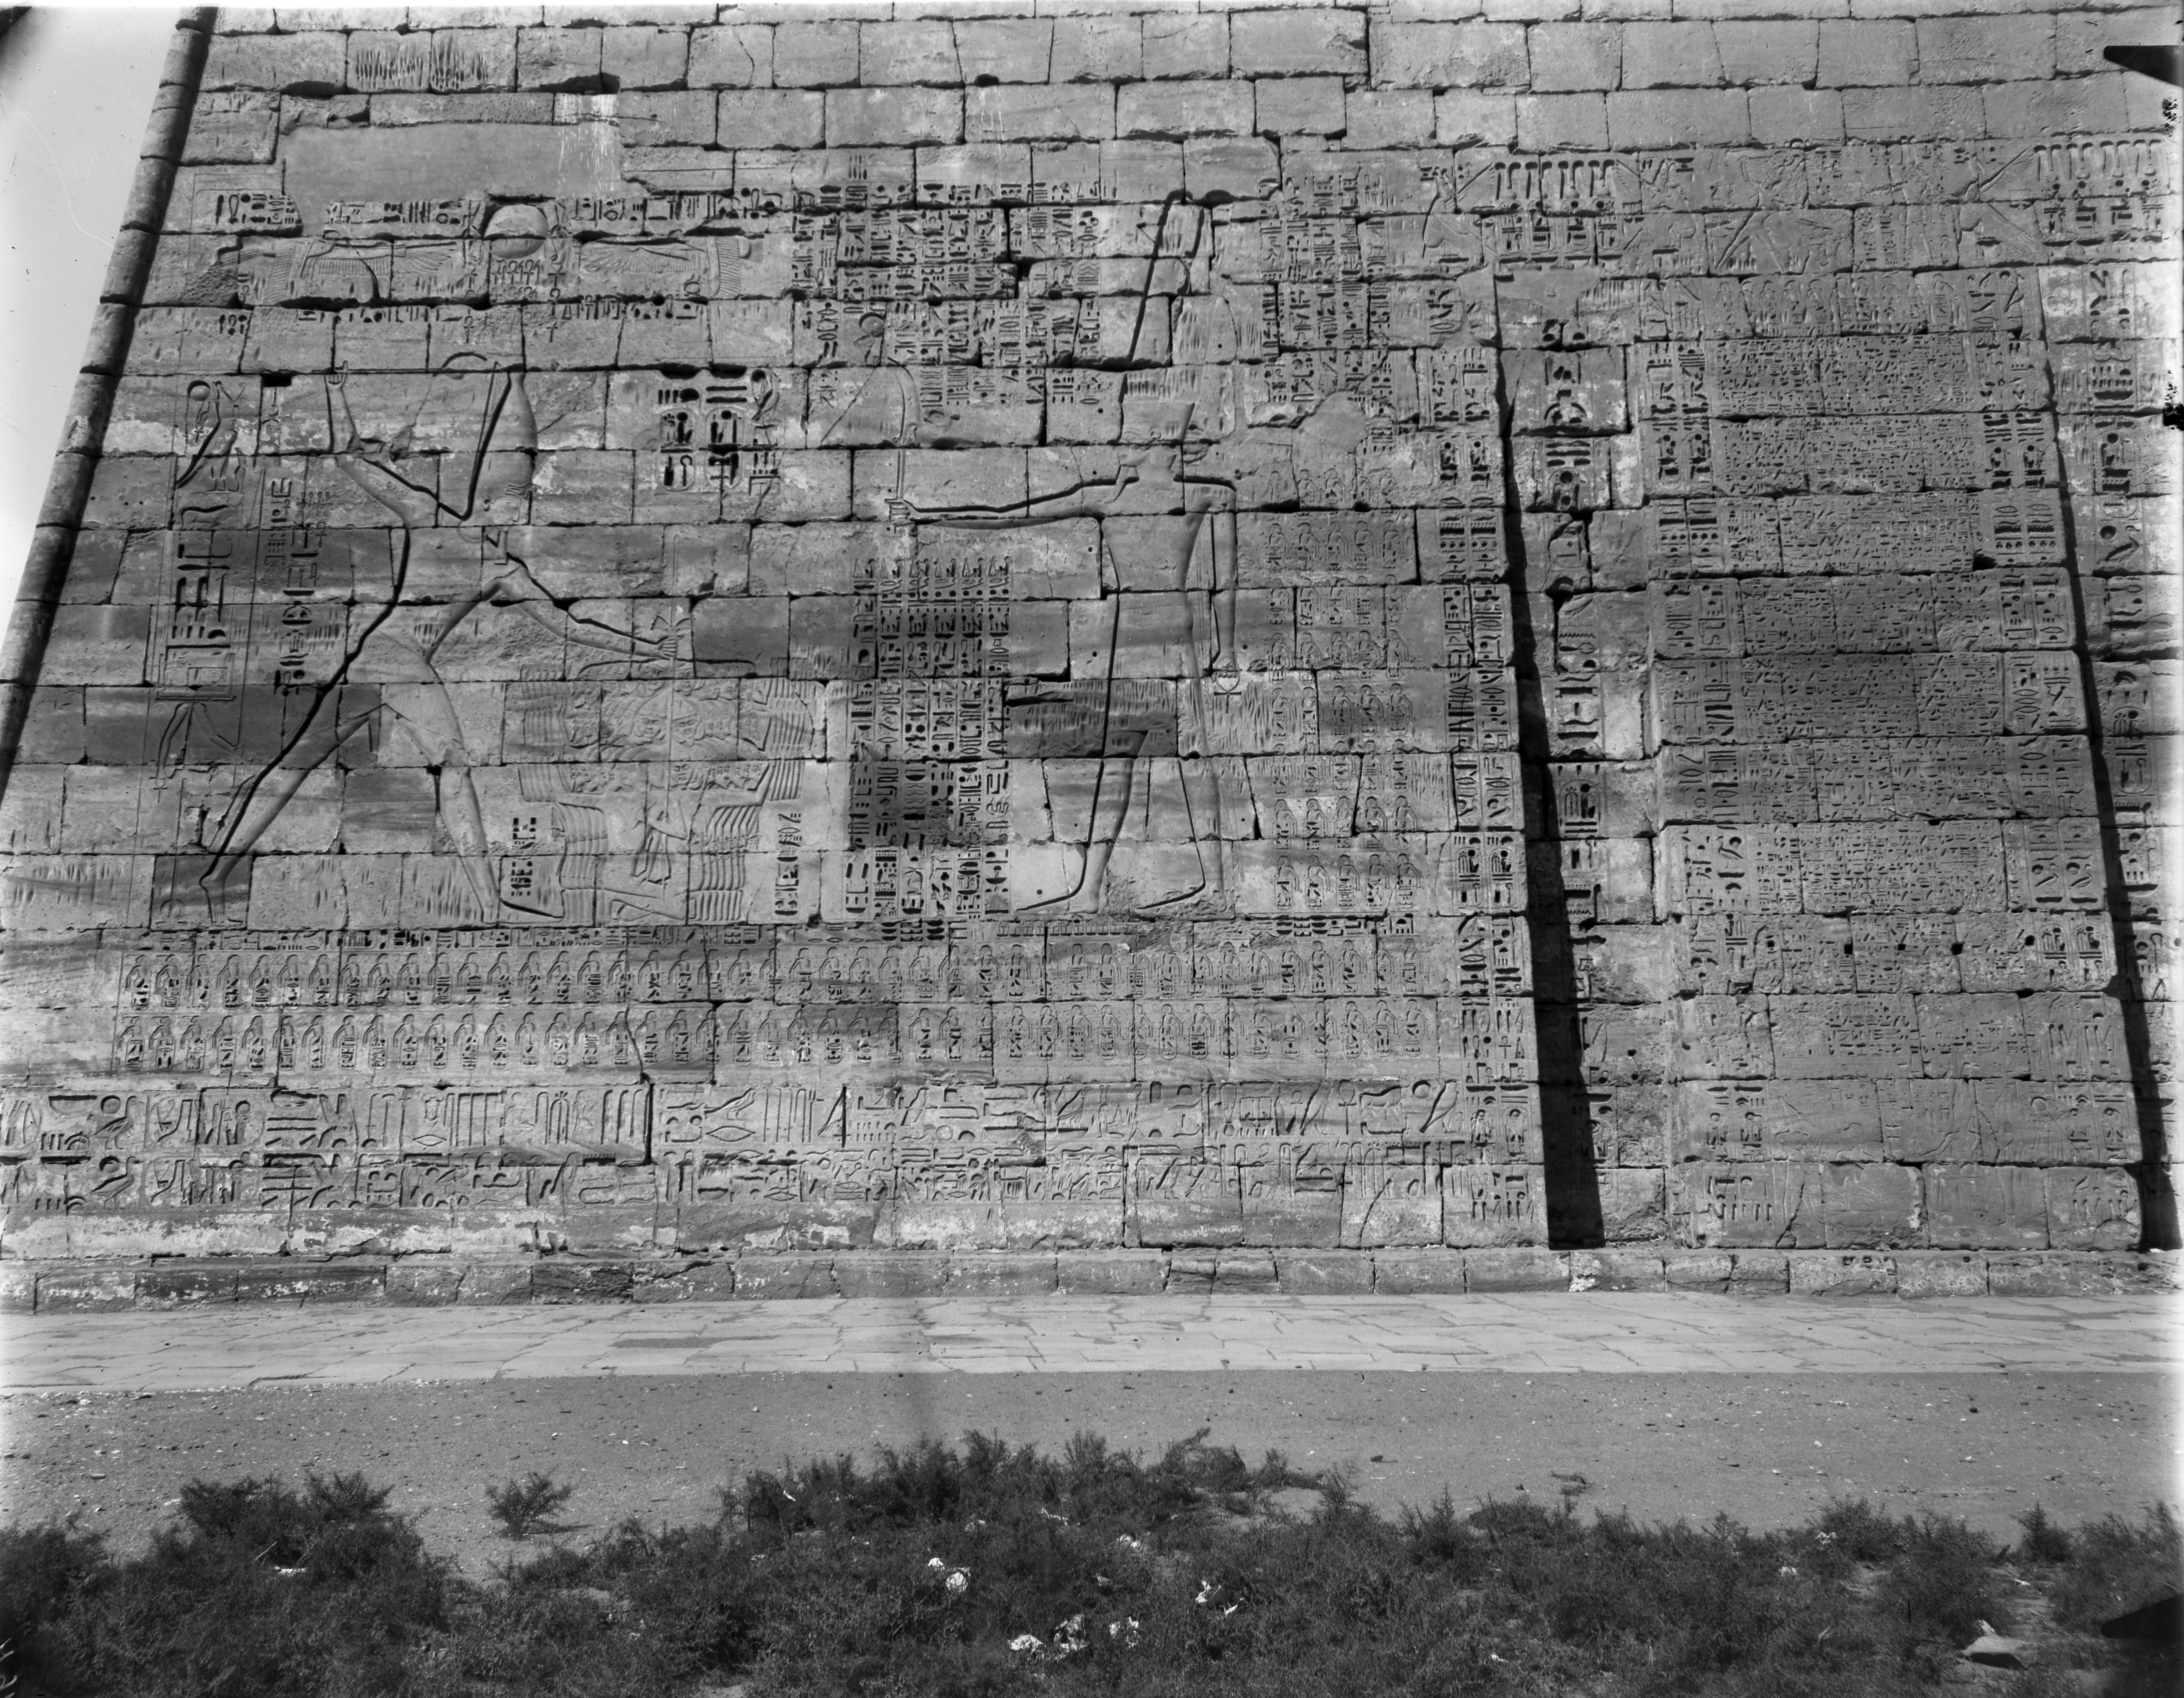
South side view, the first pylon’s external facade from the temple of Ramesses III.
North side view, the first pylon’s external facade from the temple of Ramesses III.
North side view, the second pylon’s east facade from the temple of Ramesses III.
View of the fortified tower ("migdol"); the main entrance to the Medinet Habu area.
View in the direction of the Nilometer, photographed from the top of the first pylon from the temple of Ramesses III. To the right, the so-called “Small Temple” from the 18th Dynasty.
View of the colonnade, south side, east wall, in the first court of Ramesses III’s temple.
View of the colonnade, south side, west wall, in the first court of Ramesses III’s temple.
Base of the fifth Osiride pillar, north side of the first court, from the temple of Ramesses III.
Osiride pillars in the first courtyard of the Medinet Habu temple complex built by Pharaoh Ramesses III at Thebes, on the west side of the Nile River.
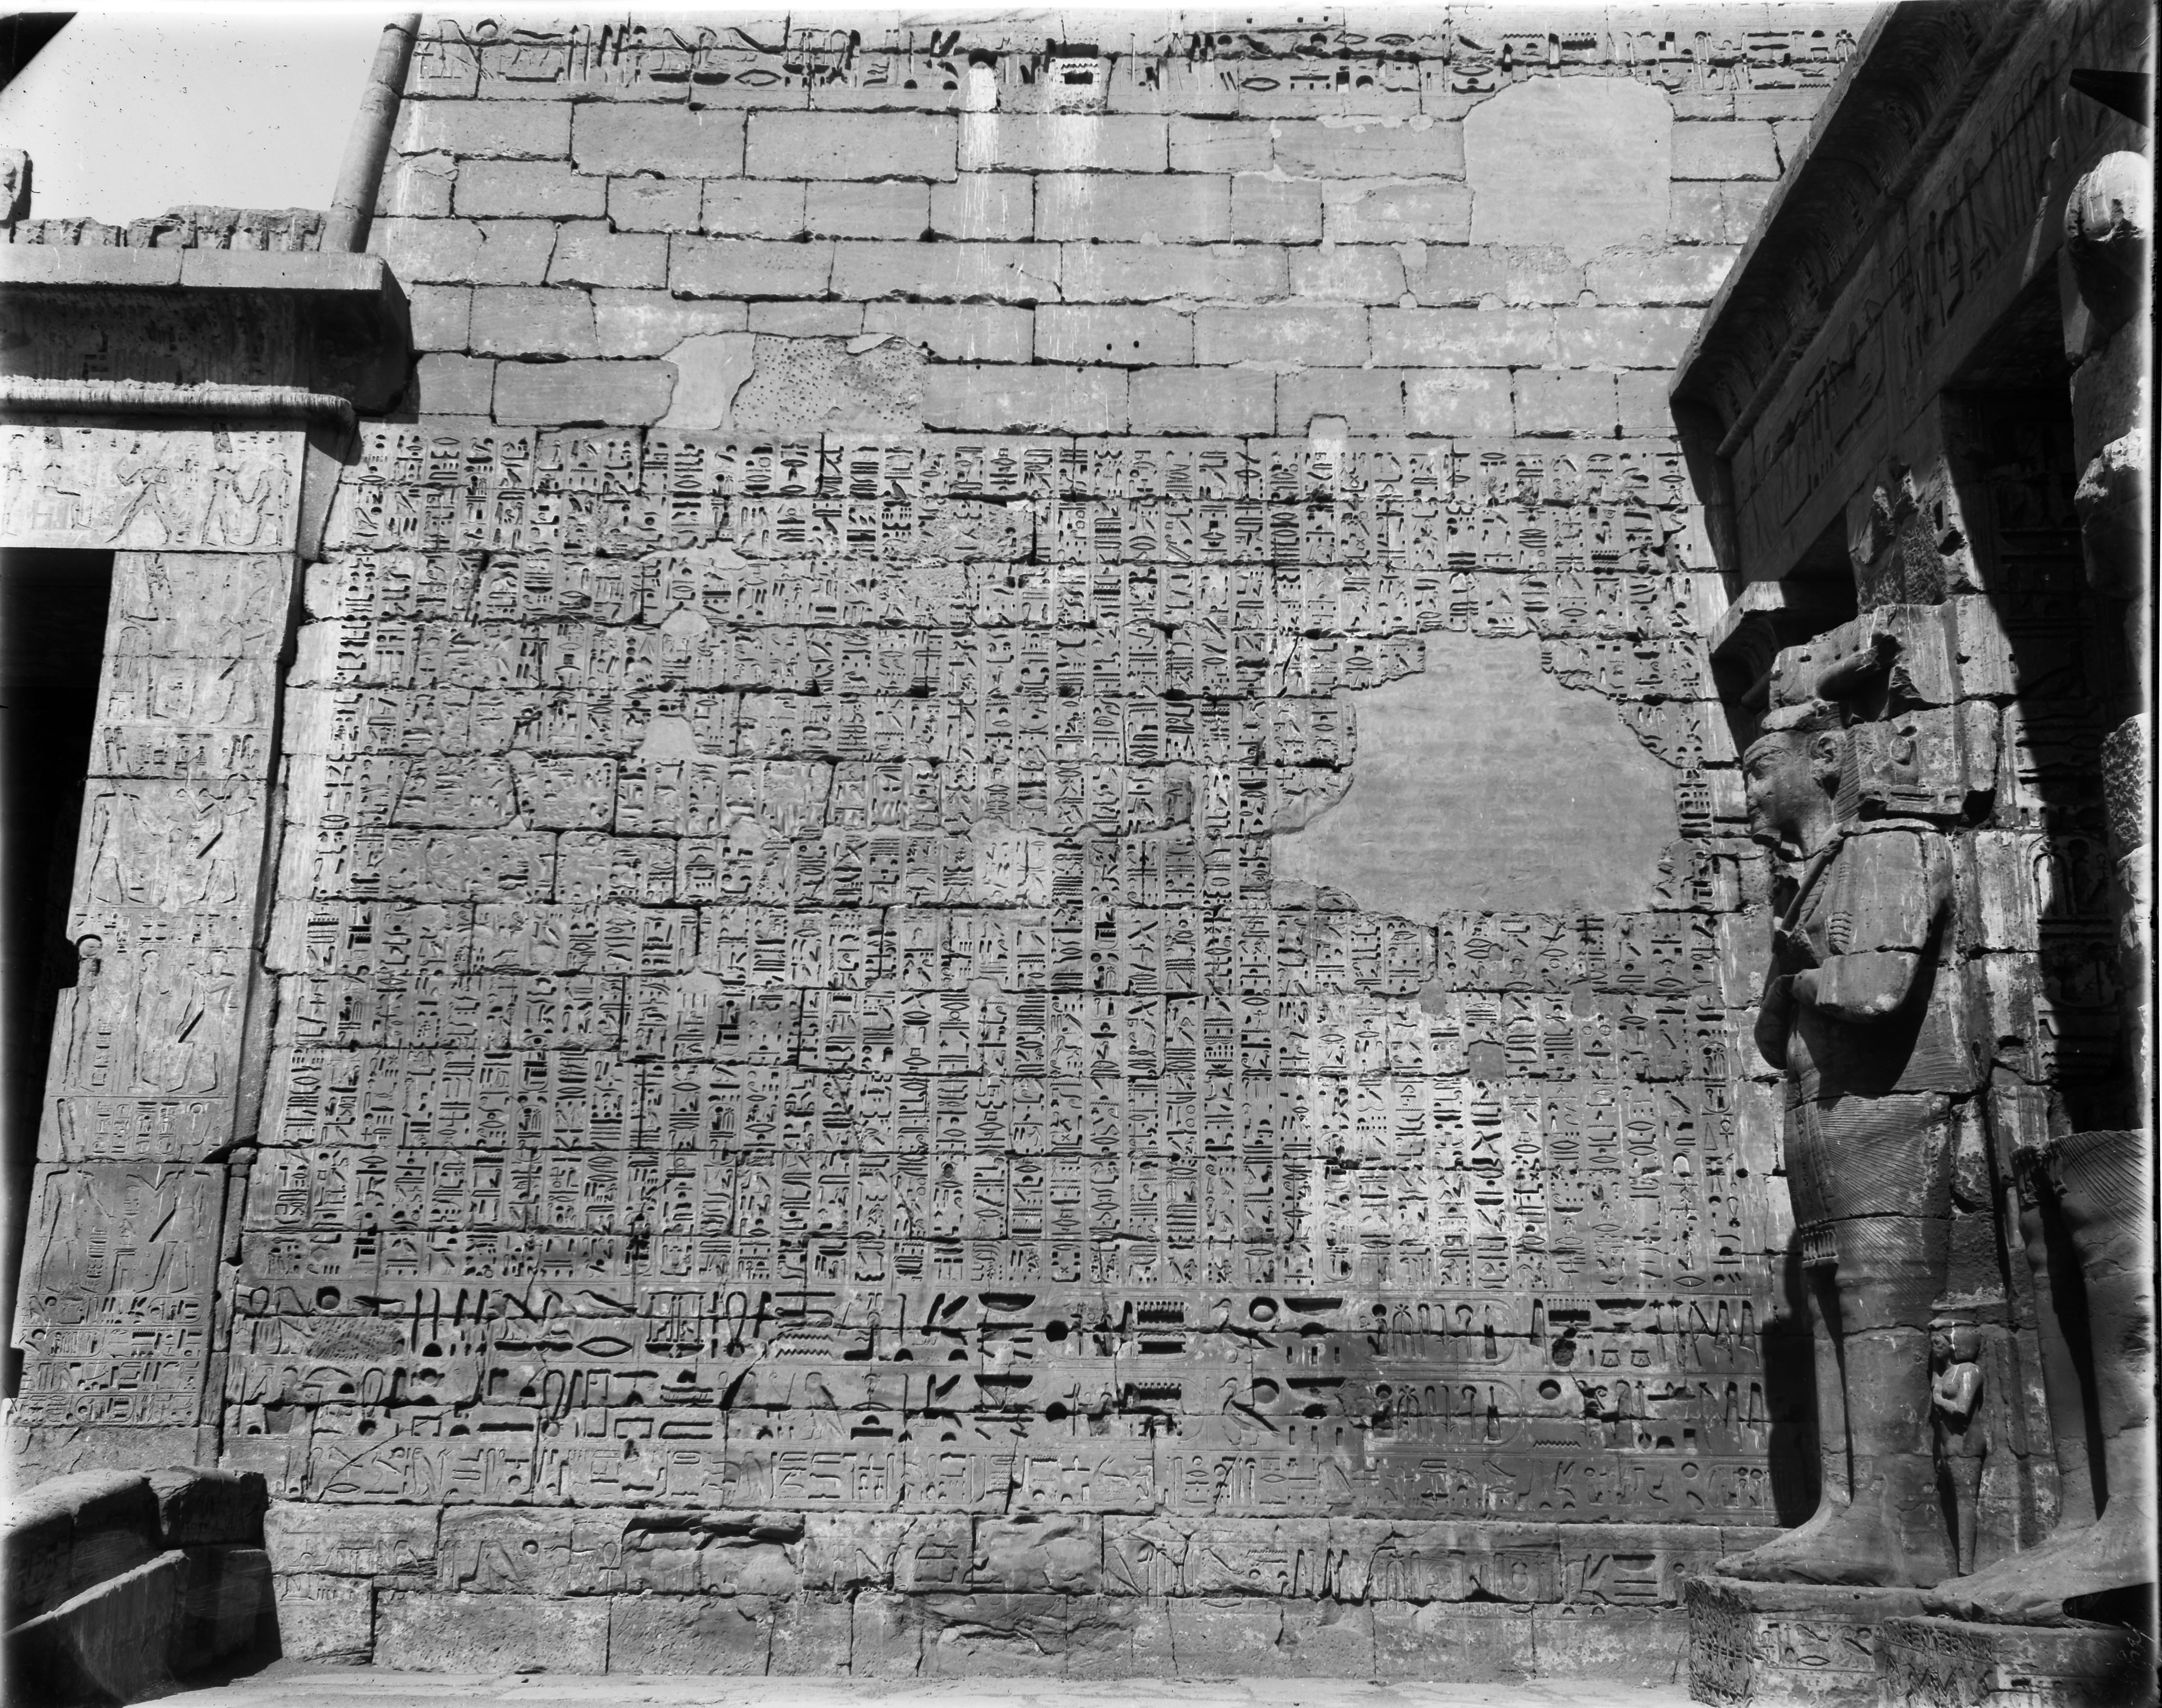
Tomb decorations and inscriptions on the walls of the inner halls in the Temple of Medinet Habu, built by Pharaoh Ramesses III at Thebes, on the west side of the Nile River.
Colonnade, south side of the second court of the temple of Ramesses III.
View of the south wall in the first court of the temple of Ramesses III, the facade of the “Window of Appearances”. The king, Ramesses III is represented while executing some prisoners.
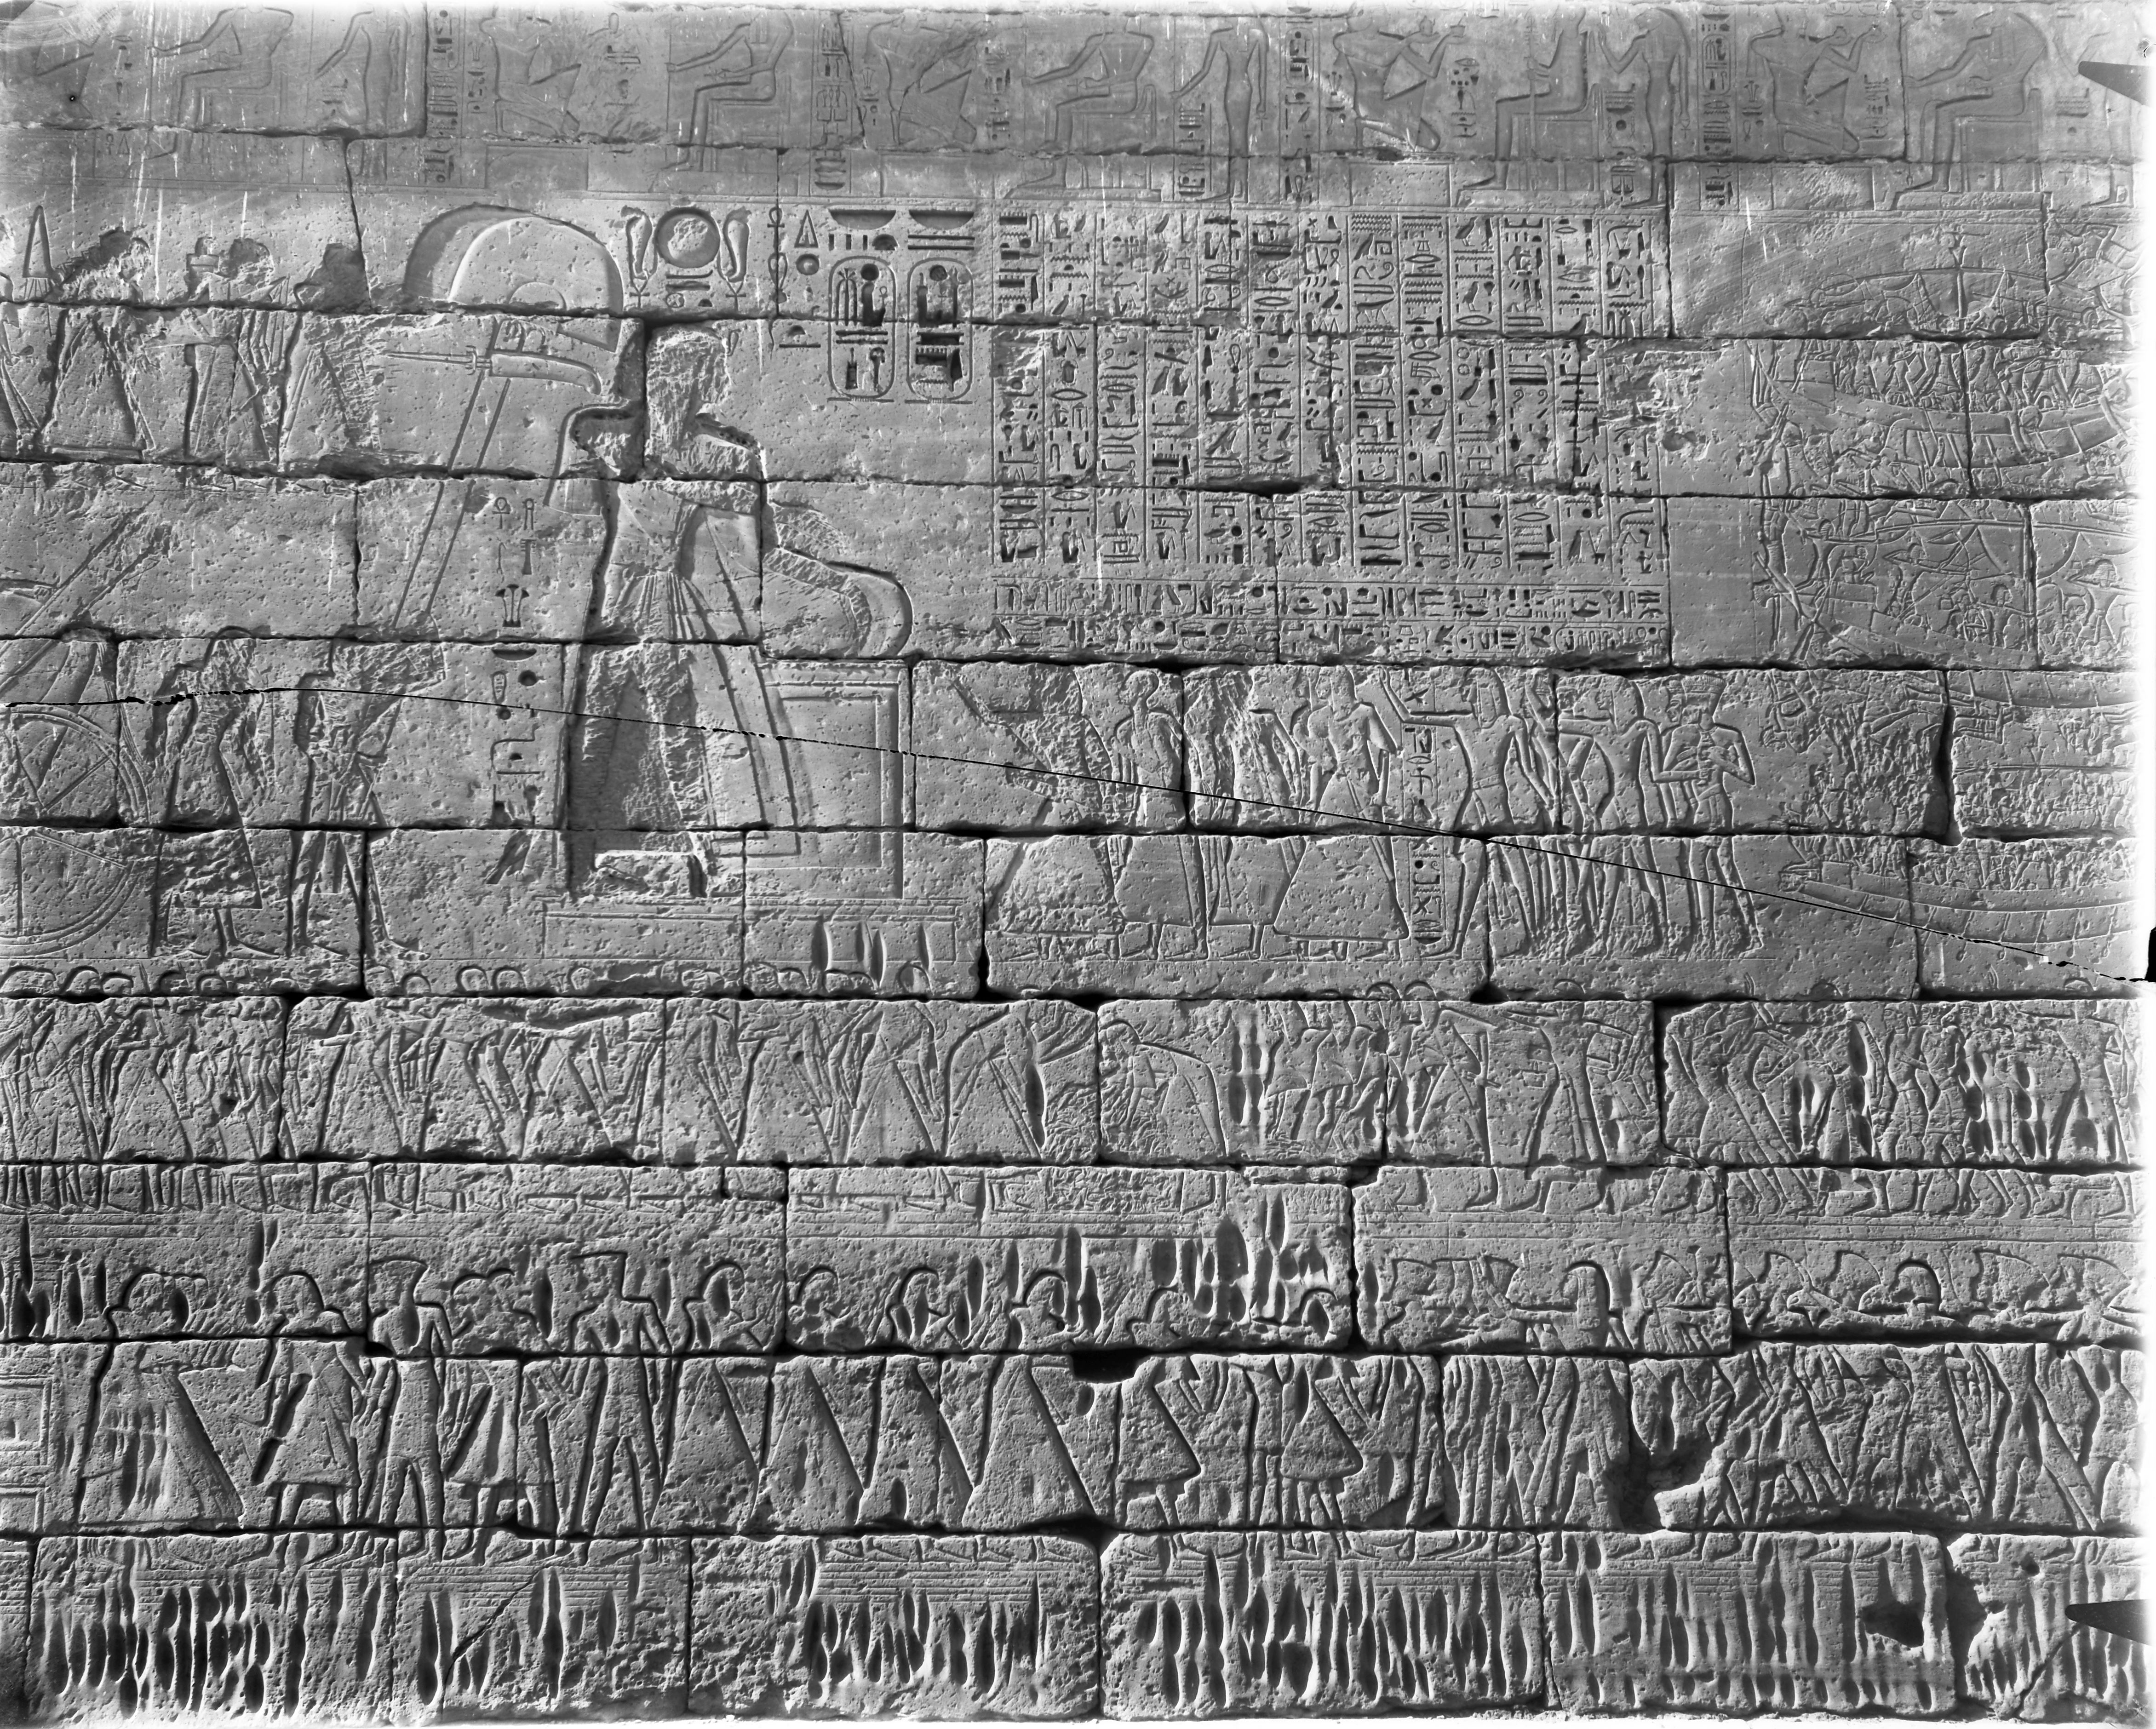
View of the north wall in the first court of the temple of Ramesses III, between the fifth and sixth pillars. Ramesses III returns victorious from a campaign in Amor.
View of the north wall in the first court of the temple of Ramesses III. Ramesses III is presenting prisoners taken from the Libyan and eastern campaigns to the Theban Triad.
First court, east side of the temple of Ramesses III. Ramesses III and his army chase after the retreating Libyans.
First court, west wall, from the temple of Ramesses III. The pharaoh presents prisoners from the Sea Peoples to the gods Amun and Mut.
Battle scene between Ramesses III and the Sea Peoples on the external facade of the north wall from the temple of Ramesses III.
North wall, external facade from the temple of Ramesses III, near the access to the second court. In the main scene, Ramesses III is shown hunting lions.
North wall, external facade from the temple of Ramesses III, near the access to the second court. In the main scene, Ramesses III is shown hunting lions.
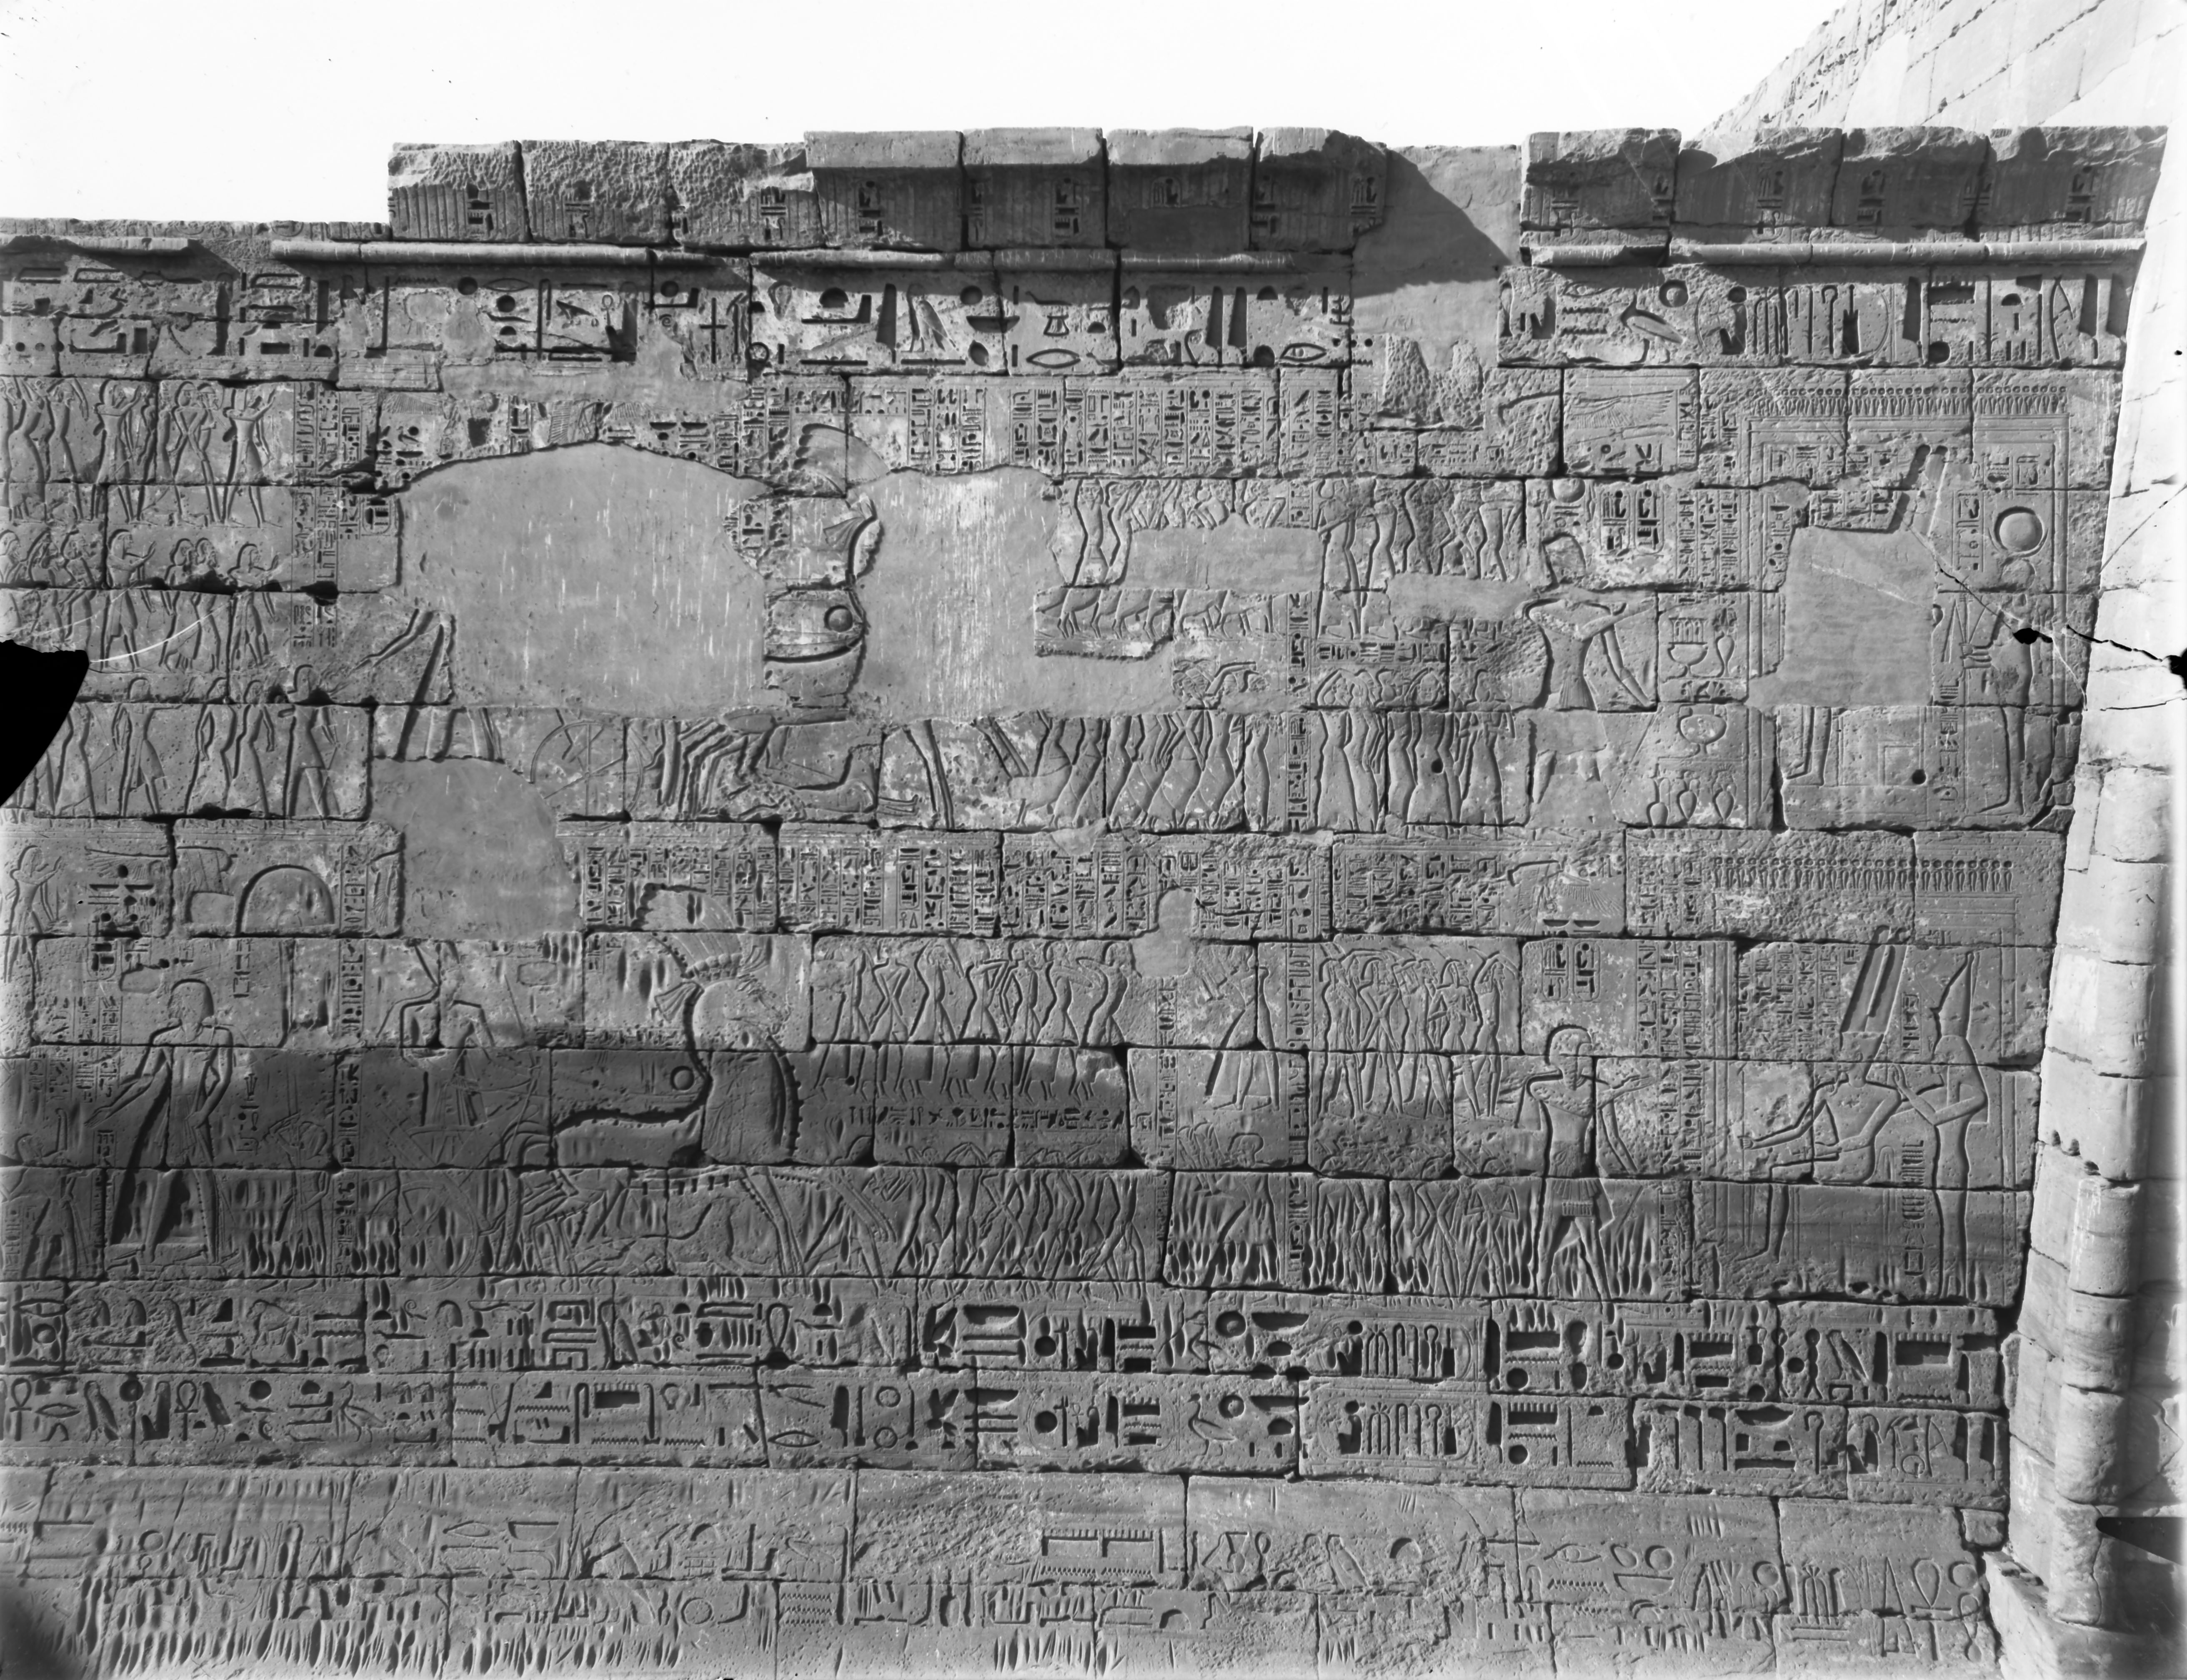
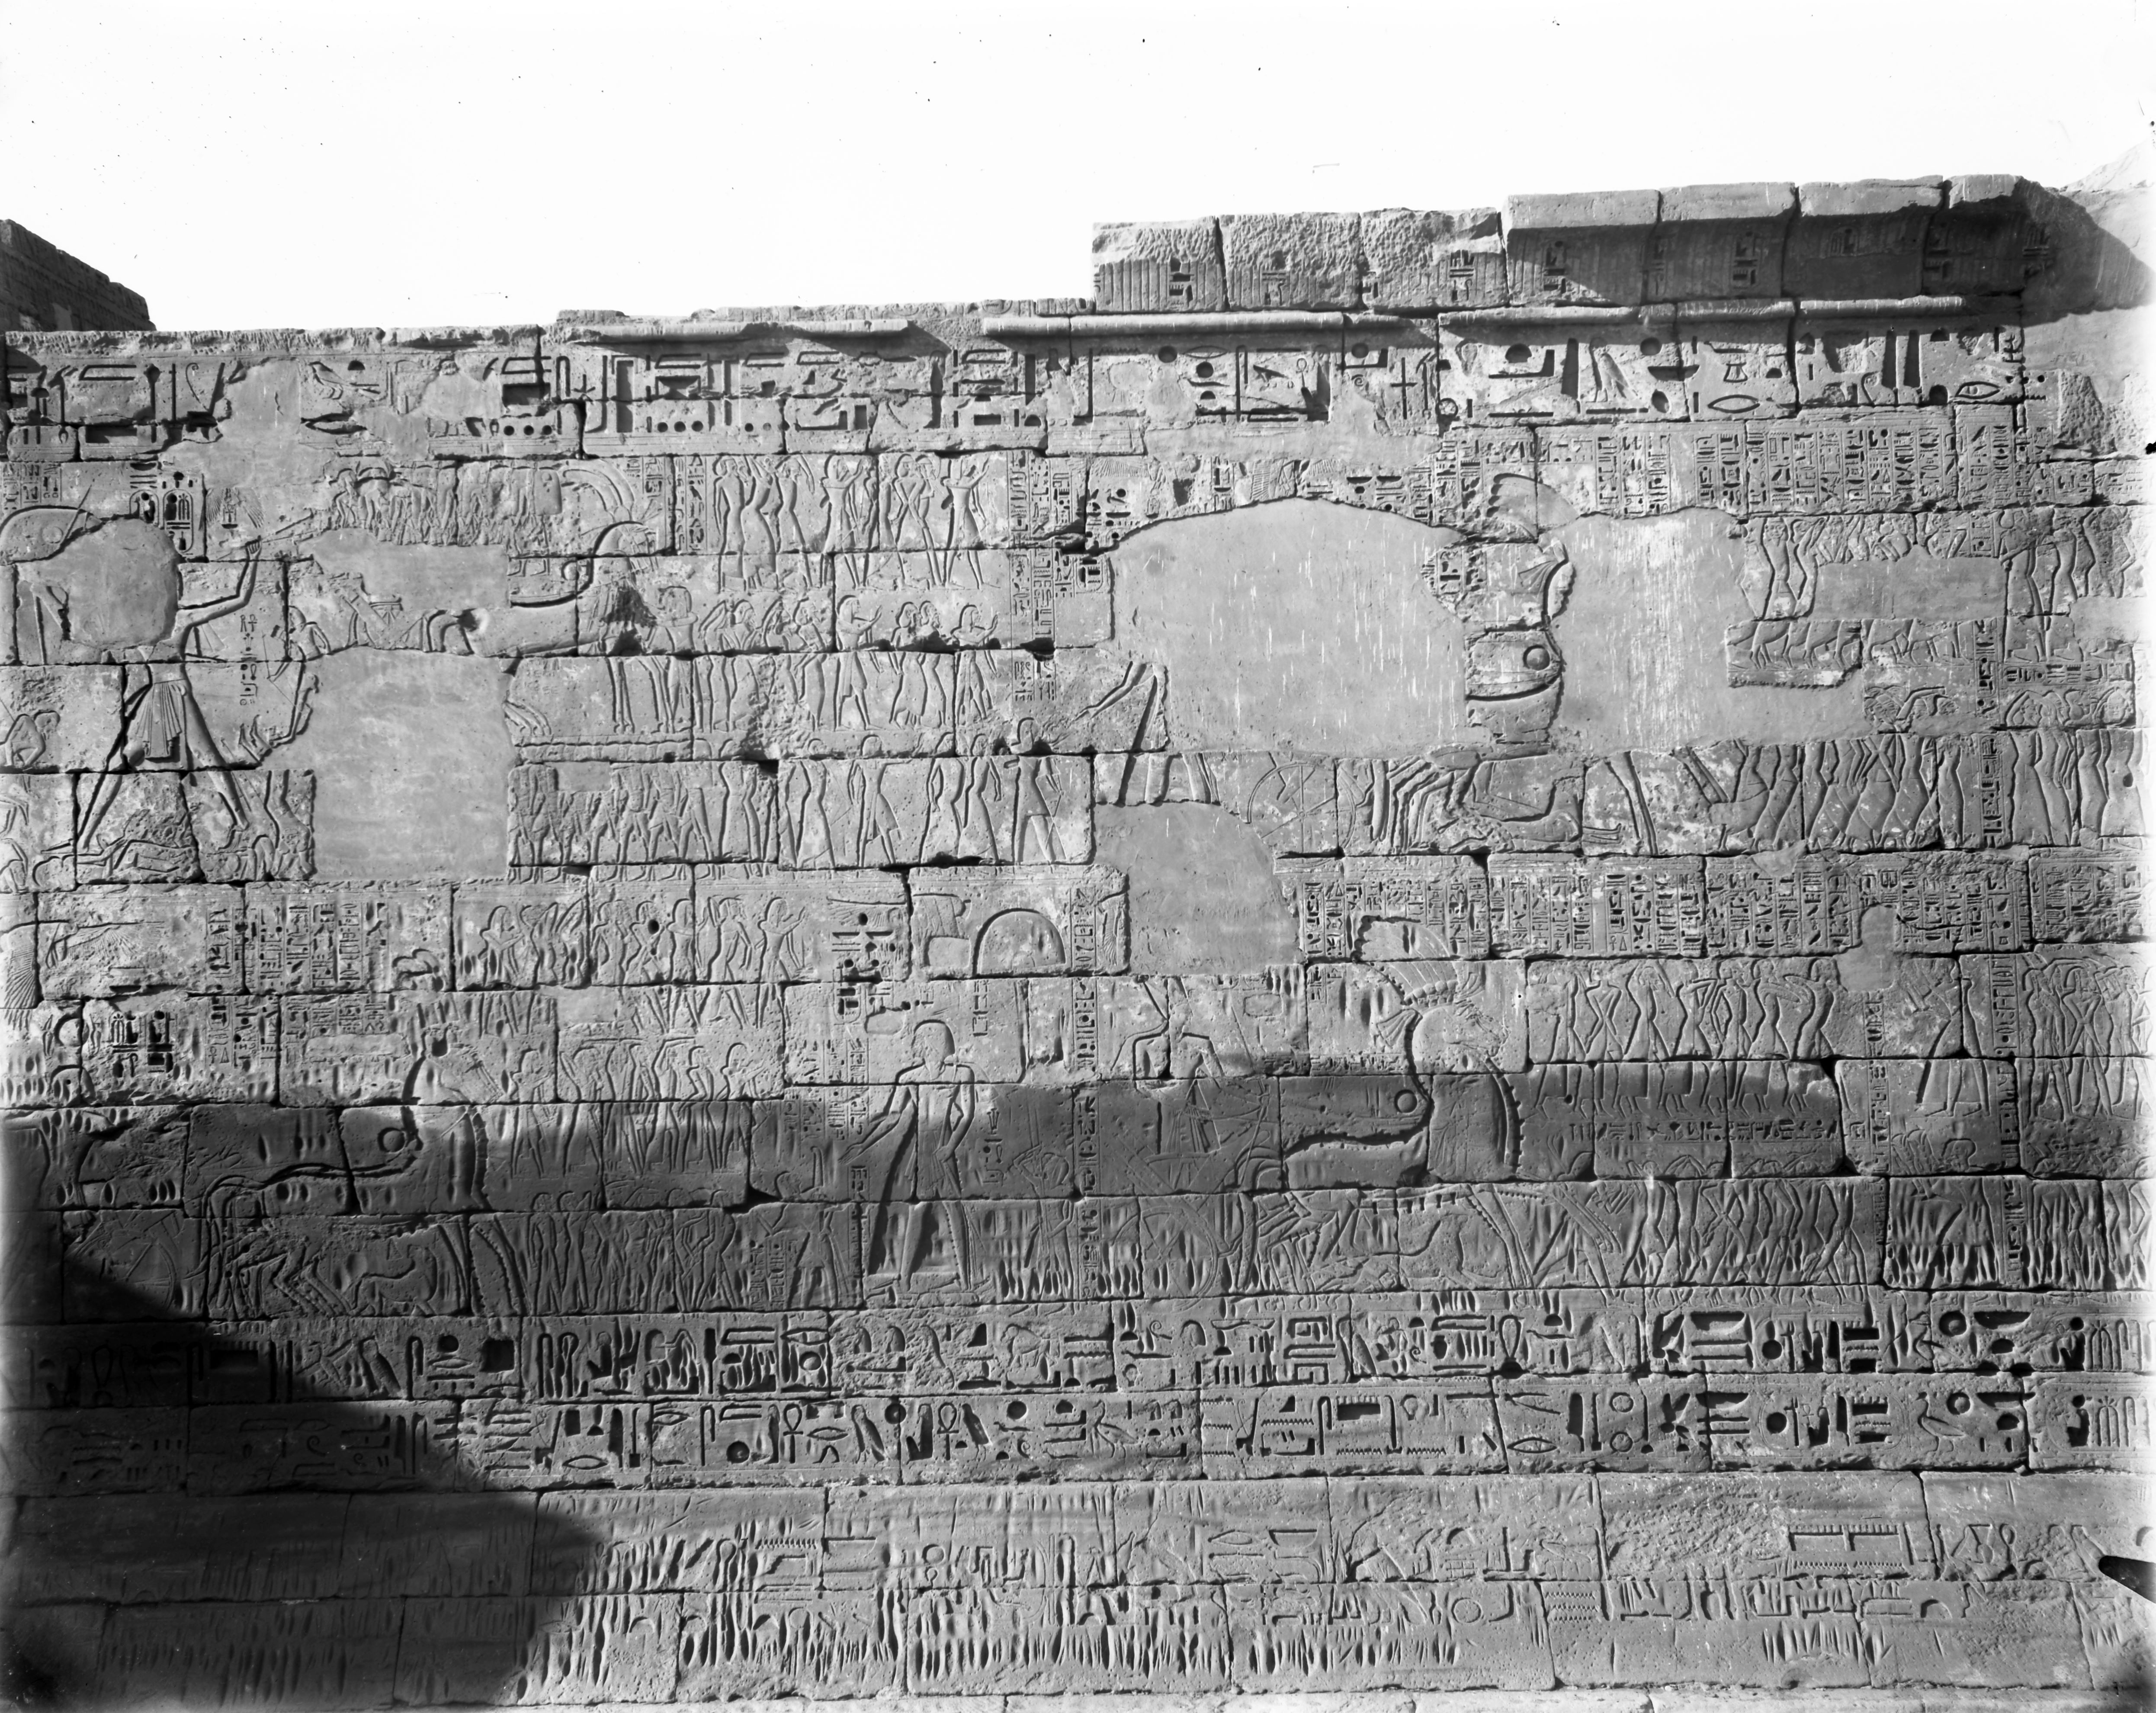
North wall, external facade from the temple of Ramesses III. Naval battle scene between Ramesses III and the Sea Peoples.
North wall, external facade from the temple of Ramesses III. Detail of the naval battle scene between Ramesses III and the Sea Peoples.

North wall, external facade from the temple of Ramesses III. Detail of the naval battle scene between Ramesses III and the Sea Peoples.
North wall, external facade from the temple of Ramesses III. Detail of the naval battle scene between Ramesses III and the Sea Peoples.
North wall, external facade from the temple of Ramesses III. Detail of the naval battle scene between Ramesses III and the Sea Peoples.
North wall, external facade from the temple of Ramesses III. Celebration of the victory following the naval battle against the Sea Peoples.
North wall, external facade from the temple of Ramesses III, between the first and second pylons.
North wall, external facade from the temple of Ramesses III, between the first and second pylons
Battle scene between Ramesses III and the Sea Peoples on the exterior façade of the north wall from the temple of Ramesses III.
Battle scene between Ramesses III and the Sea Peoples on the exterior façade of the north wall from the temple of Ramesses III.
Temple of Ramesses III. South tower of the fortified entrance ('migdol'), east side. Lower register, depiction of prisoners from the southern lands on their knees.
Temple of Ramesses III. South tower of the fortified entrance ('migdol'), east side. Lower register, depiction of prisoners from the southern lands on their knees.