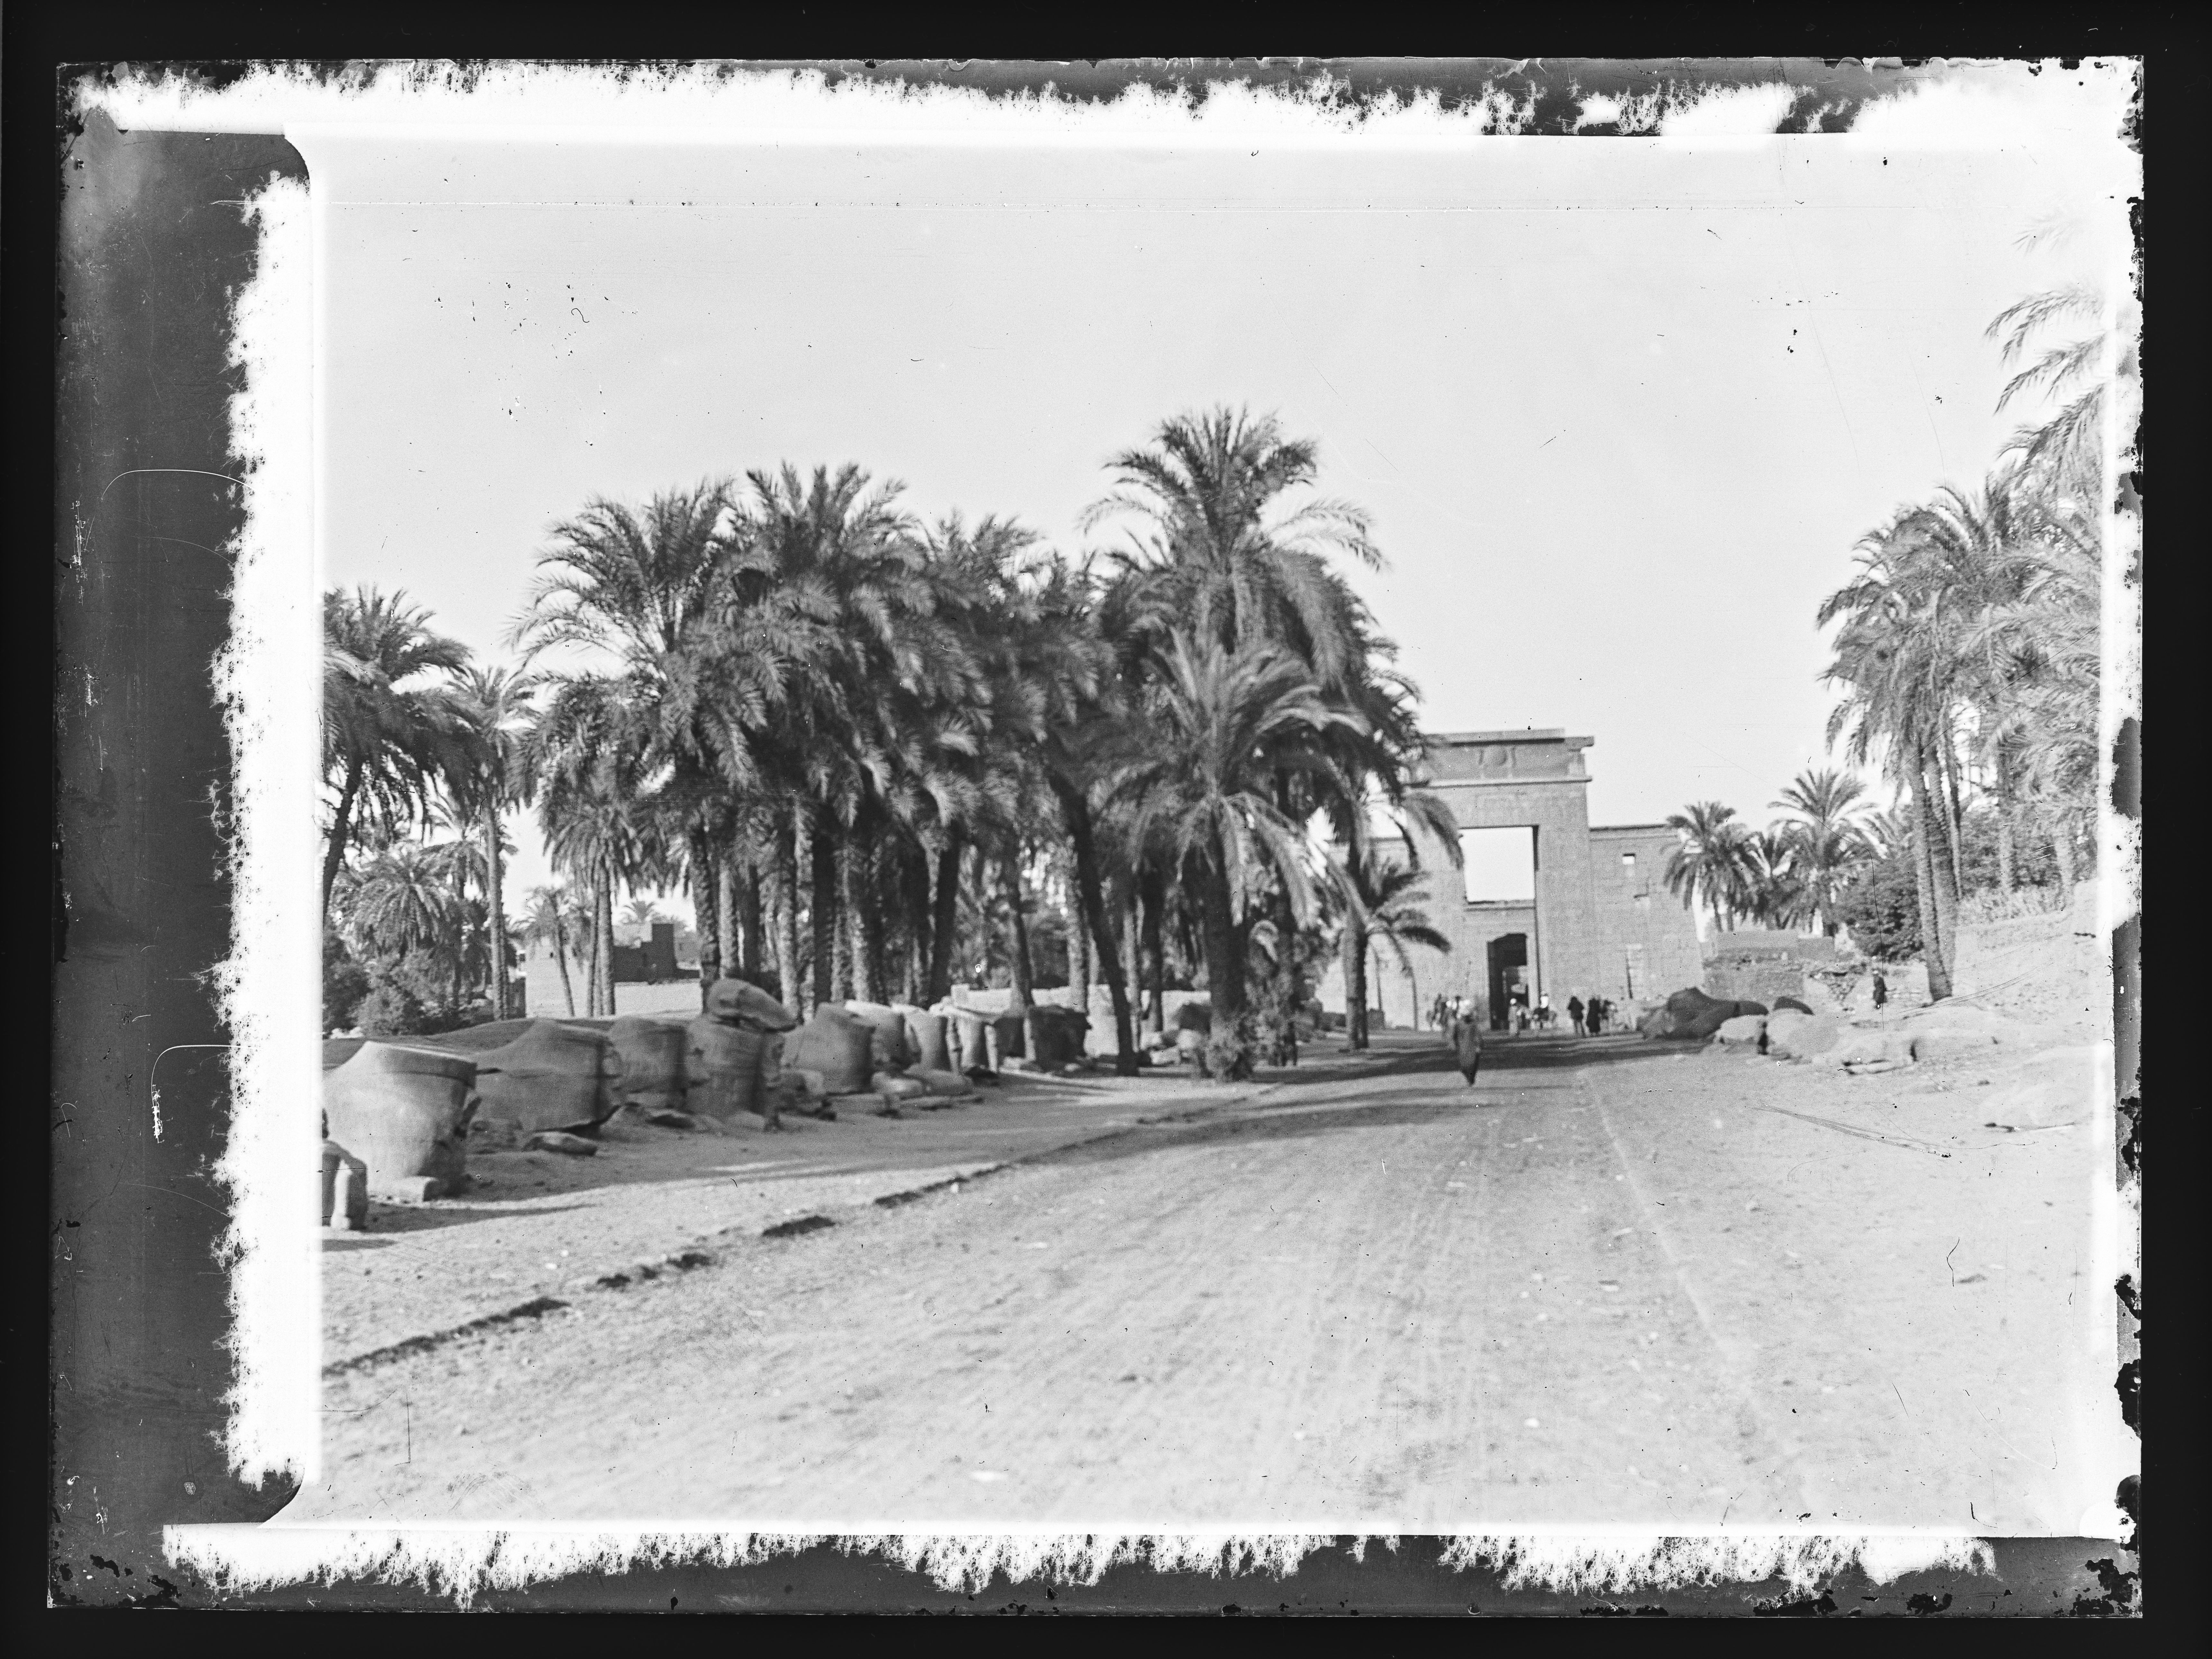
Western entrance to the temple complex of Amun at Karnak. The avenue of ram-headed sphinxes leading to the First Pylon is visible.
Avenue with the remains of stone sphinxes on either side, towards the entrance to the Karnak Temple Complex.
Western entrance to the Karnak Temple Complex. In the foreground on the left, a pylon and on either side of the road a series of ram-headed sphinxes. In the avenue, there is a group of Egyptians at work (left) and a group of Europeans visiting the ruins on the right.
Central part of the Great Hypostyle Hall of the Karnak Temple Complex.
The Great Hypostyle Hall of the Karnak Temple Complex.
Hypostyle Hall columns in the Karnak Temple Complex. This is a 19th-century colour photograph. At the bottom left is the caption and on the right the author's signature.
Detail of a section on the southern exterior wall, east side of the Great Hypostyle Hall. Decorated by Ramesses II with the so-called poem by Pentaur relating to the battle of Kadesh. This part of the wall is located in the court of the Seventh Pylon.
Detail of a section on the southern exterior wall, east side of the Great Hypostyle Hall. Decorated by Ramesses II with the so-called poem by Pentaur relating to the battle of Kadesh. This part of the wall is located in the court of the Seventh Pylon.
Detail of a section on the southern exterior wall, east side of the Great Hypostyle Hall. Decorated by Ramesses II with the so-called poem by Pentaur relating to the battle of Kadesh. This part of the wall is located in the court of the Seventh Pylon.

Detail of a section on the southern exterior wall, east side of the Great Hypostyle Hall. Decorated by Ramesses II with the so-called poem by Pentaur relating to the battle of Kadesh. This part of the wall is located in the court of the Seventh Pylon.
Detail of a section on the southern exterior wall, east side of the Great Hypostyle Hall. Decorated by Ramesses II with the so-called poem by Pentaur relating to the battle of Kadesh. This part of the wall is located in the court of the Seventh Pylon.
Detail of a section on the southern exterior wall, east side of the Great Hypostyle Hall. Decorated by Ramesses II with the so-called poem by Pentaur relating to the battle of Kadesh. This part of the wall is located in the court of the Seventh Pylon.
Detail of a section on the southern exterior wall, east side of the Great Hypostyle Hall. Decorated by Ramesses II with the so-called poem by Pentaur relating to the battle of Kadesh. This part of the wall is located in the court of the Seventh Pylon.
Detail of a section on the northern exterior wall, west side of the Great Hypostyle Hall. Decorated by Seti I with battle scenes from his campaigns in Palestine-Lebanon and Libya.
Detail of a section on the northern exterior wall, west side of the Great Hypostyle Hall. Decorated by Seti I with battle scenes from his campaigns in Palestine-Lebanon and Libya.
Detail of a section on the northern exterior wall, west side of the Great Hypostyle Hall. Decorated by Seti I with battle scenes from his campaigns in Palestine-Lebanon and Libya.
Detail of a section on the northern exterior wall, west side of the Great Hypostyle Hall. Decorated by Seti I with battle scenes from his campaigns in Palestine-Lebanon and Libya.
Detail of a section on the northern exterior wall, west side of the Great Hypostyle Hall. Decorated by Seti I with battle scenes from his campaigns in Palestine-Lebanon and Libya.

Detail of a section on the northern exterior wall, west side of the Great Hypostyle Hall. Decorated by Seti I with battle scenes from his campaigns in Palestine-Lebanon and Libya.
Detail of a section on the northern exterior wall, west side of the Great Hypostyle Hall. Decorated by Seti I with battle scenes from his campaigns in Palestine-Lebanon and Libya.
Detail of a section on the northern exterior wall, west side of the Great Hypostyle Hall. Decorated by Seti I with battle scenes from his campaigns in Palestine-Lebanon and Libya.
Detail of a section on the northern exterior wall, west side of the Great Hypostyle Hall. Decorated by Seti I with battle scenes from his campaigns in Palestine-Lebanon and Libya.
Detail of the north-eastern exterior wall of the Great Hypostyle Hall, where there is an access to the inside of the building. Princes from Lebanon are cutting down trees and offering them to Seti I. This scene is connected with the depictions on the northern exterior wall.
Detail of the north-eastern exterior wall of the Great Hypostyle Hall, where there is an access to the inside of the building. Princes from Lebanon are cutting down trees and offering them to Seti I. This scene is connected with the depictions on the northern exterior wall.
Detail of the north-eastern outer wall of the Great Hypostyle Hall, where there is an access to the interior. Seti I attacks the Shasu Bedouins in a village near Canaan. This scene is connected with the rapresentations on the north outer wall.
Detail on the Third Pylon (initially erected by Amenhotep III), south-east side, with inscriptions commissioned by Ramesses III.
Detail on the Third Pylon (initially erected by Amenhotep III), south-east side, with inscriptions commissioned by Ramesses III.
Detail on the Third Pylon (initially erected by Amenhotep III), south-east side, with inscriptions commissioned by Ramesses III.
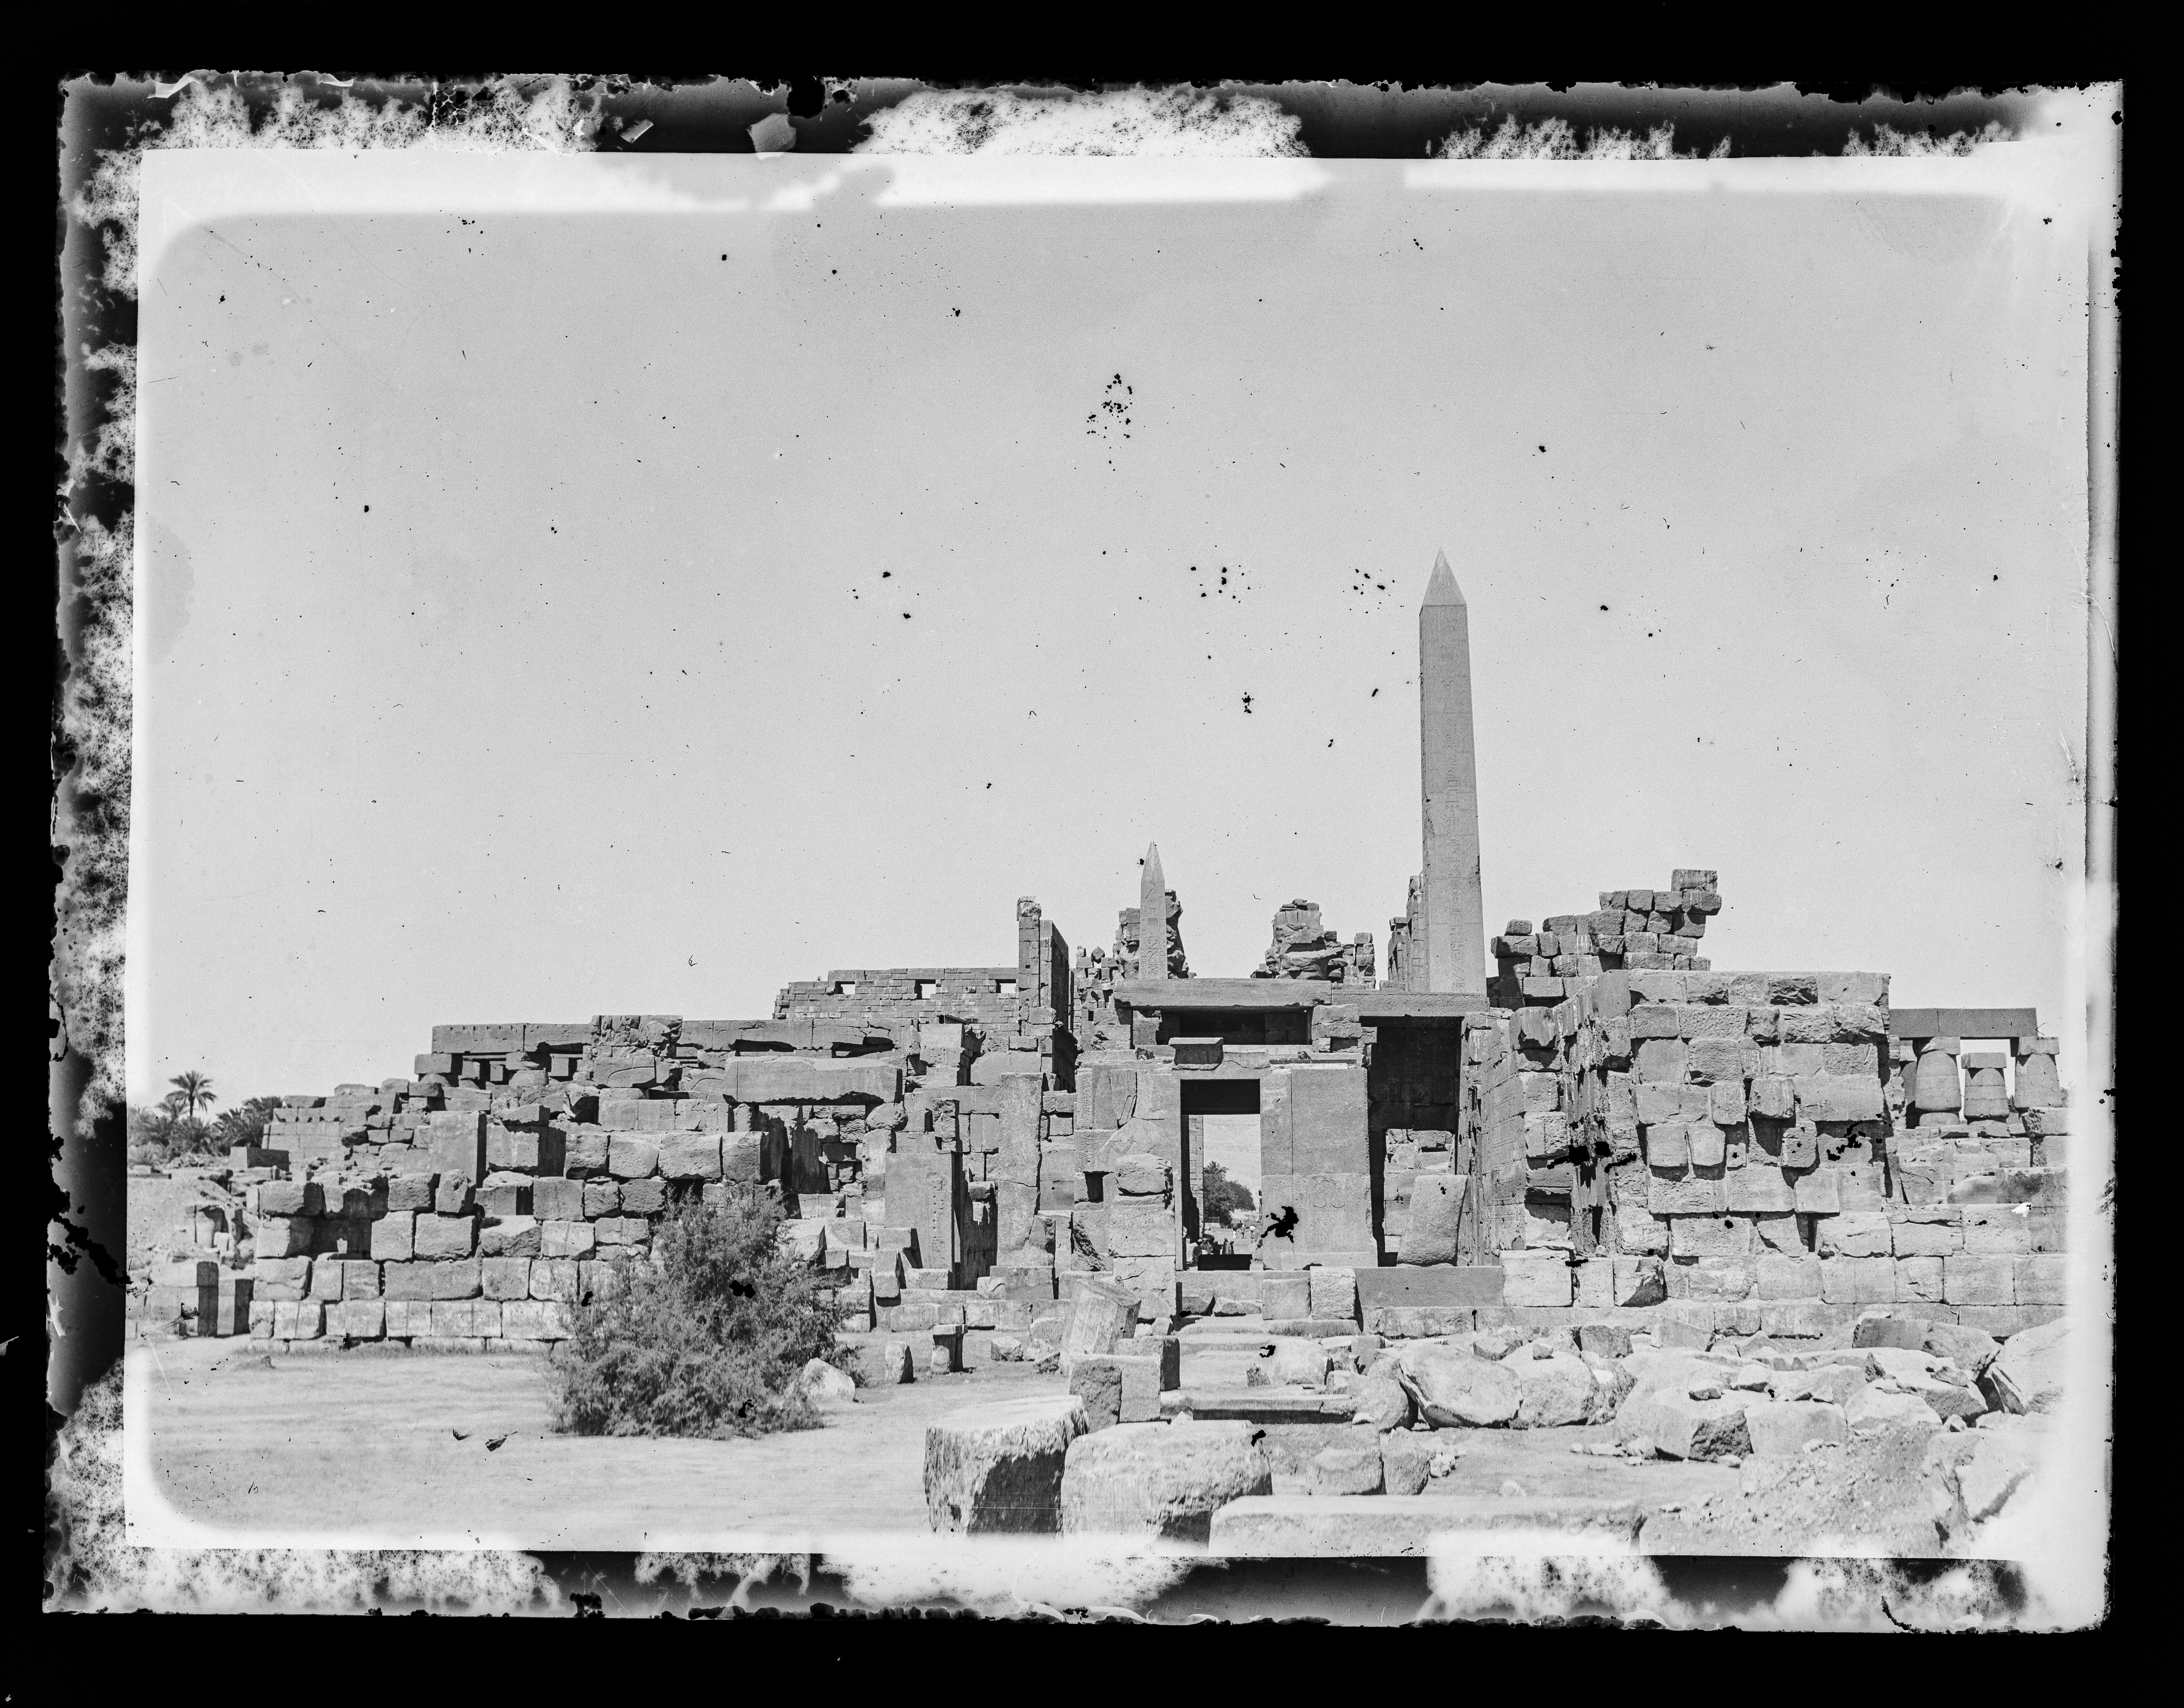
View of the temple complex of Amun at Karnak. In the centre is the obelisk of Hatshepsut and on the left, that of Tuthmosis I. Behind the obelisk is the Great Hypostyle Hall.
View of the Karnak Temple Complex, where the obelisks of Hatshepsut and Tuthmosis I are visible.
Obelisk of Tuthmosis I in the Karnak Temple Complex and in the background, the great monumental western gate: the gateway of Ptolemy IV.
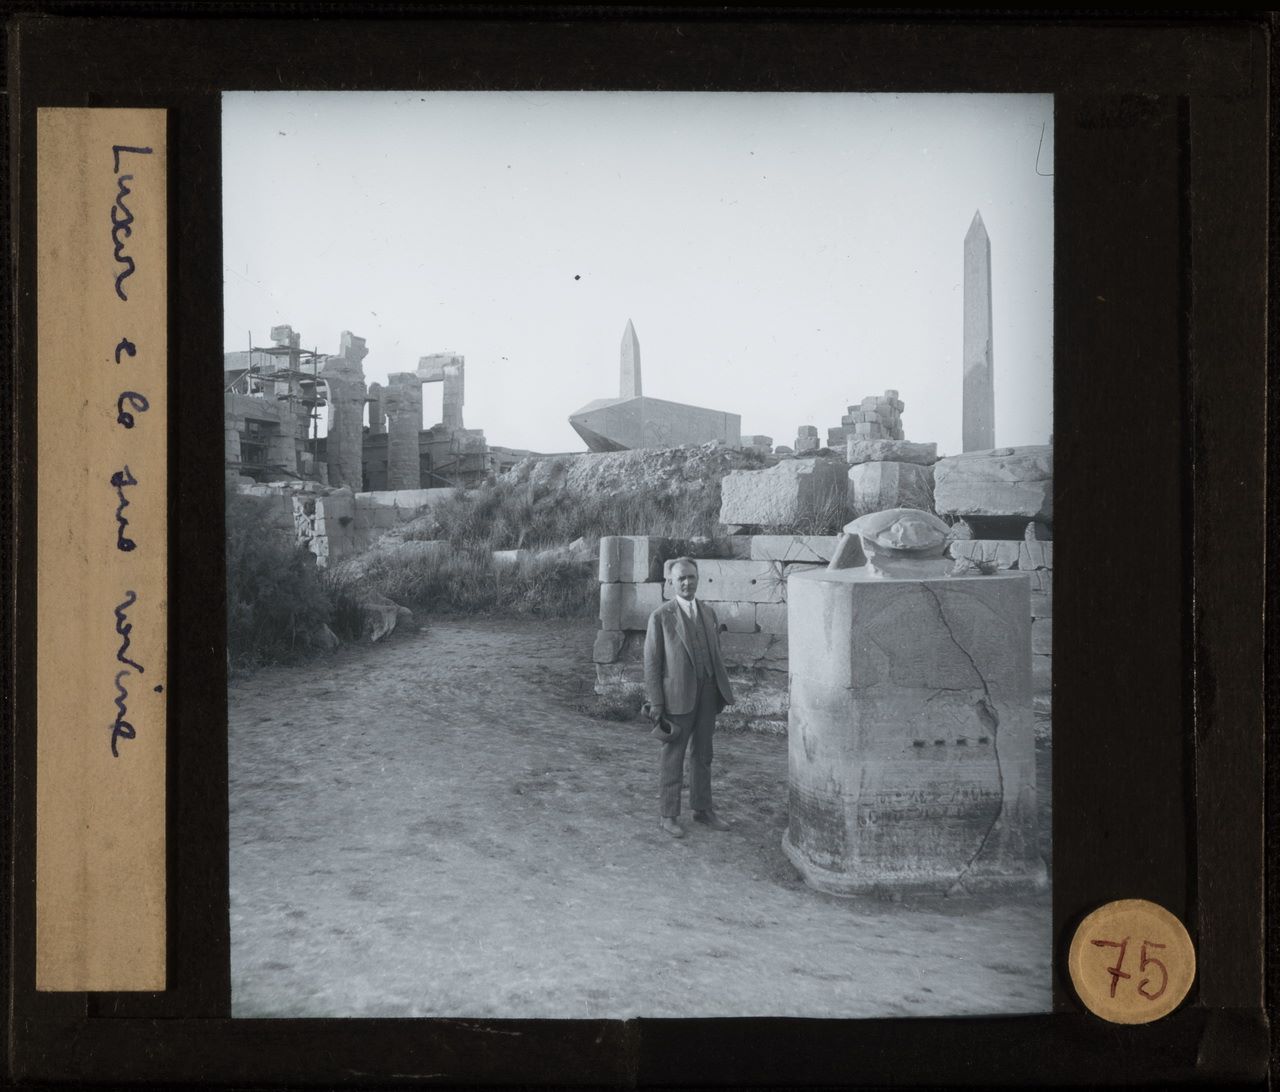
Giovanni Marro is photographed among the ruins of the Karnak Temple Complex, near the fallen obelisk of Queen Hatshepsut. Left, the Hypostyle Hall.
View of the Karnak Temple Complex, where the obelisks of Hatshepsut and Tuthmosis I are visible.

Festival Hall Colonnade in the Karnak Temple Complex. There is a seated European man reading a book, probably Giovanni Marro or one of his colleagues.
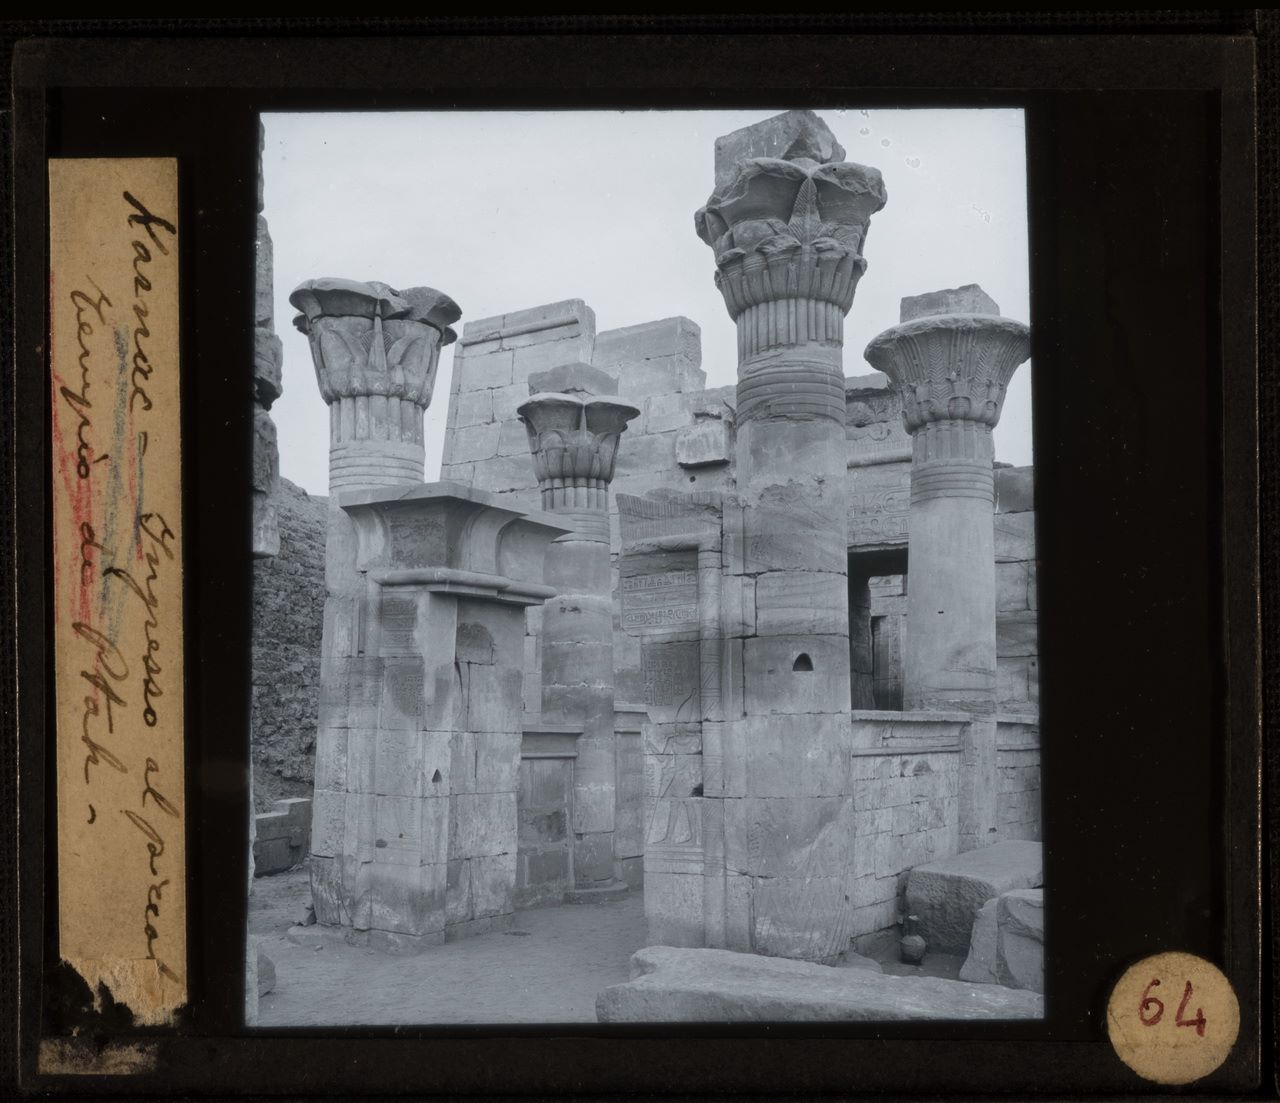
Columned entrance to the small Temple of Ptah at Karnak.
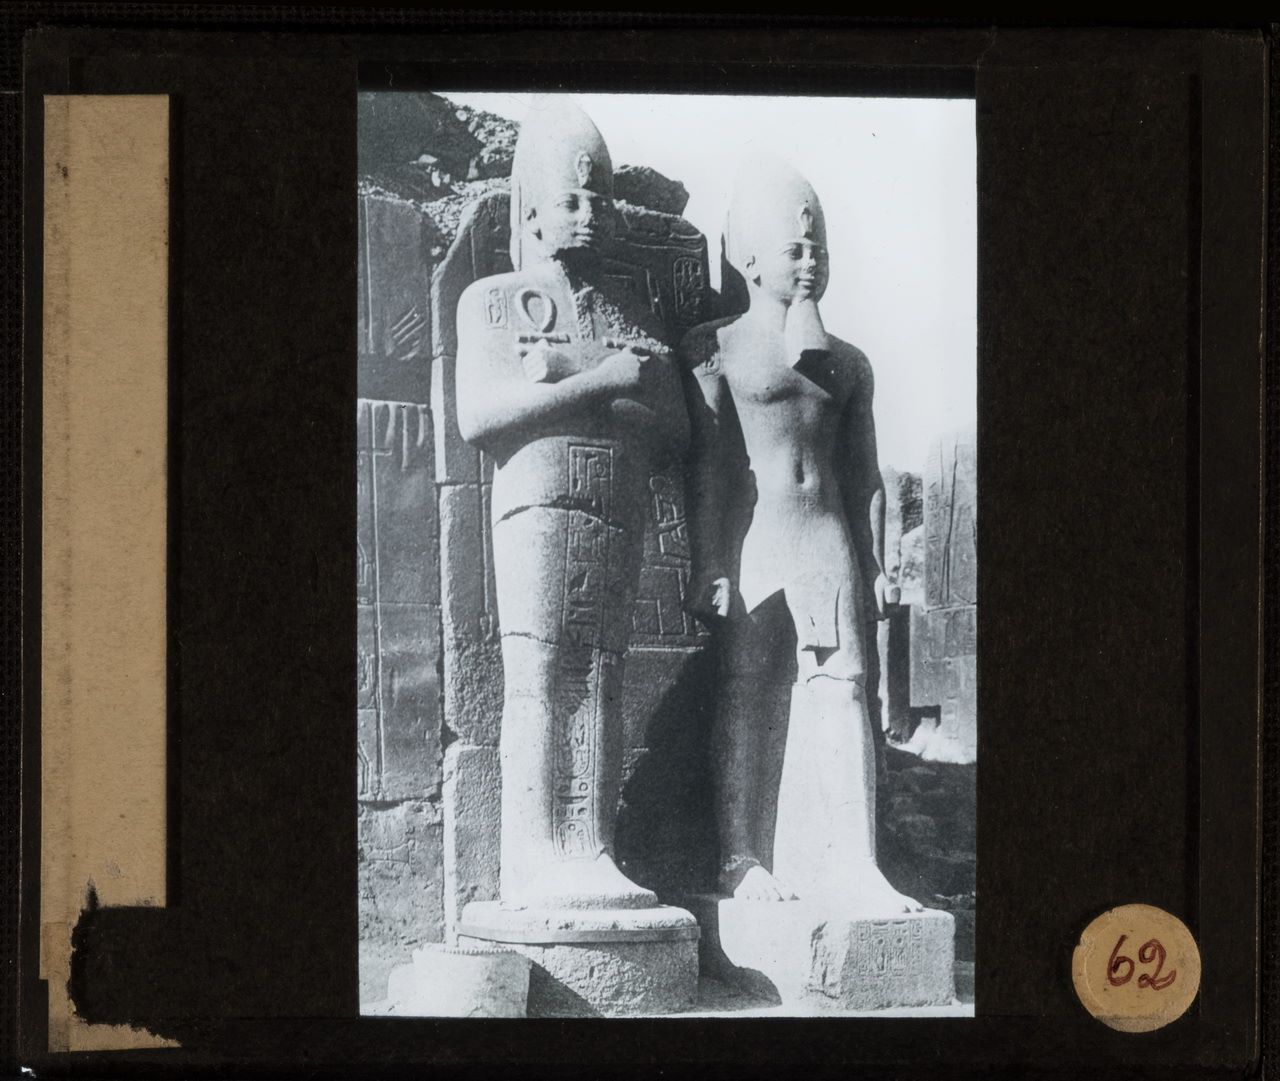
Pair of royal statues (in one cartouche, the name Usermaatre can only just be made out, and on the other statue, the name Ramesses) near the seventh pylon in the Karnak Temple Complex.

Detail of the decoration on the seventh pylon, south side, built by Tuthmosis III. It depicts the Syrio-Palestinian cities being subdued during the Pharaoh’s first and eighth military campaigns.
Detail of the decoration on the Seventh Pylon, south side, built by Tuthmosis III.
Detail of the decoration on the Seventh Pylon, south side, built by Tuthmosis III.
Detail of the decoration on the Seventh Pylon, south side, built by Tuthmosis III.
Detail of the decoration on the Seventh Pylon, south side, built by Tuthmosis III.
Detail of the decoration on the Seventh Pylon, south side, built by Tuthmosis III. Representing the cities of Palestine and Lebanon subdued during Tuthmosis III’s first and eighth military campaigns in the region.
Detail of a triumphal relief from the Bubastite Portal, showing the pharaoh executing prisoners. Erected by Sheshonq I in the temple complex of Amun at Karnak.
In the foreground, a group of Egyptians near the eighth pylon of the Karnak Temple Complex, with the Hypostyle Hall in the background. 19th century photograph.
Karnak, image showing the entrance gateway of Ptolemy III Euergetes. In the foreground, there is one Egyptian man standing and another on horseback, most likely a soldier.
Southern entrance to the Karnak Temple Complex, built by Ptolemy III, partly covered by palm trees. There are ram-headed sphinxes lining each side of the avenue. On the road, several Egyptians.